Containers in Visual Studio Code
The Container Tools extension makes it easy to build, manage, and deploy containerized applications in Visual Studio Code.
This page provides an overview of the Container Tools extension capabilities; use the side menu to learn more about topics of interest. If you are just getting started with container development, try the Docker tutorial first to understand key Docker concepts.
Installation
Install Docker on your machine and add it to the system path.
On Linux, you should also enable Docker CLI for the non-root user account that will be used to run VS Code.
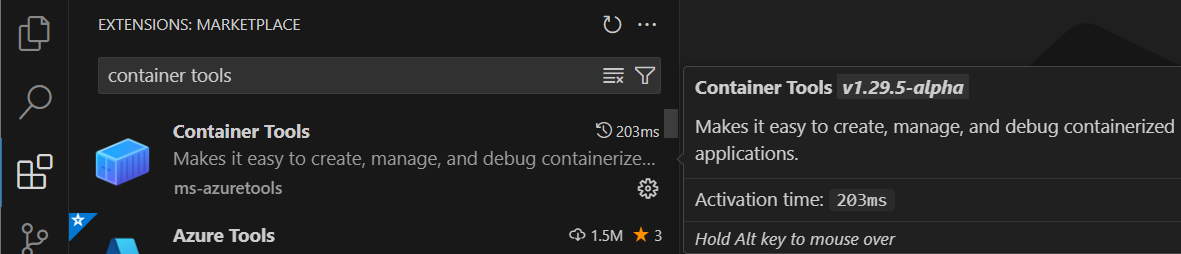
To install the extension, open the Extensions view (⇧⌘X (Windows, Linux Ctrl+Shift+X)), search for container tools to filter results and select the Container Tools extension authored by Microsoft.
Editing Docker files
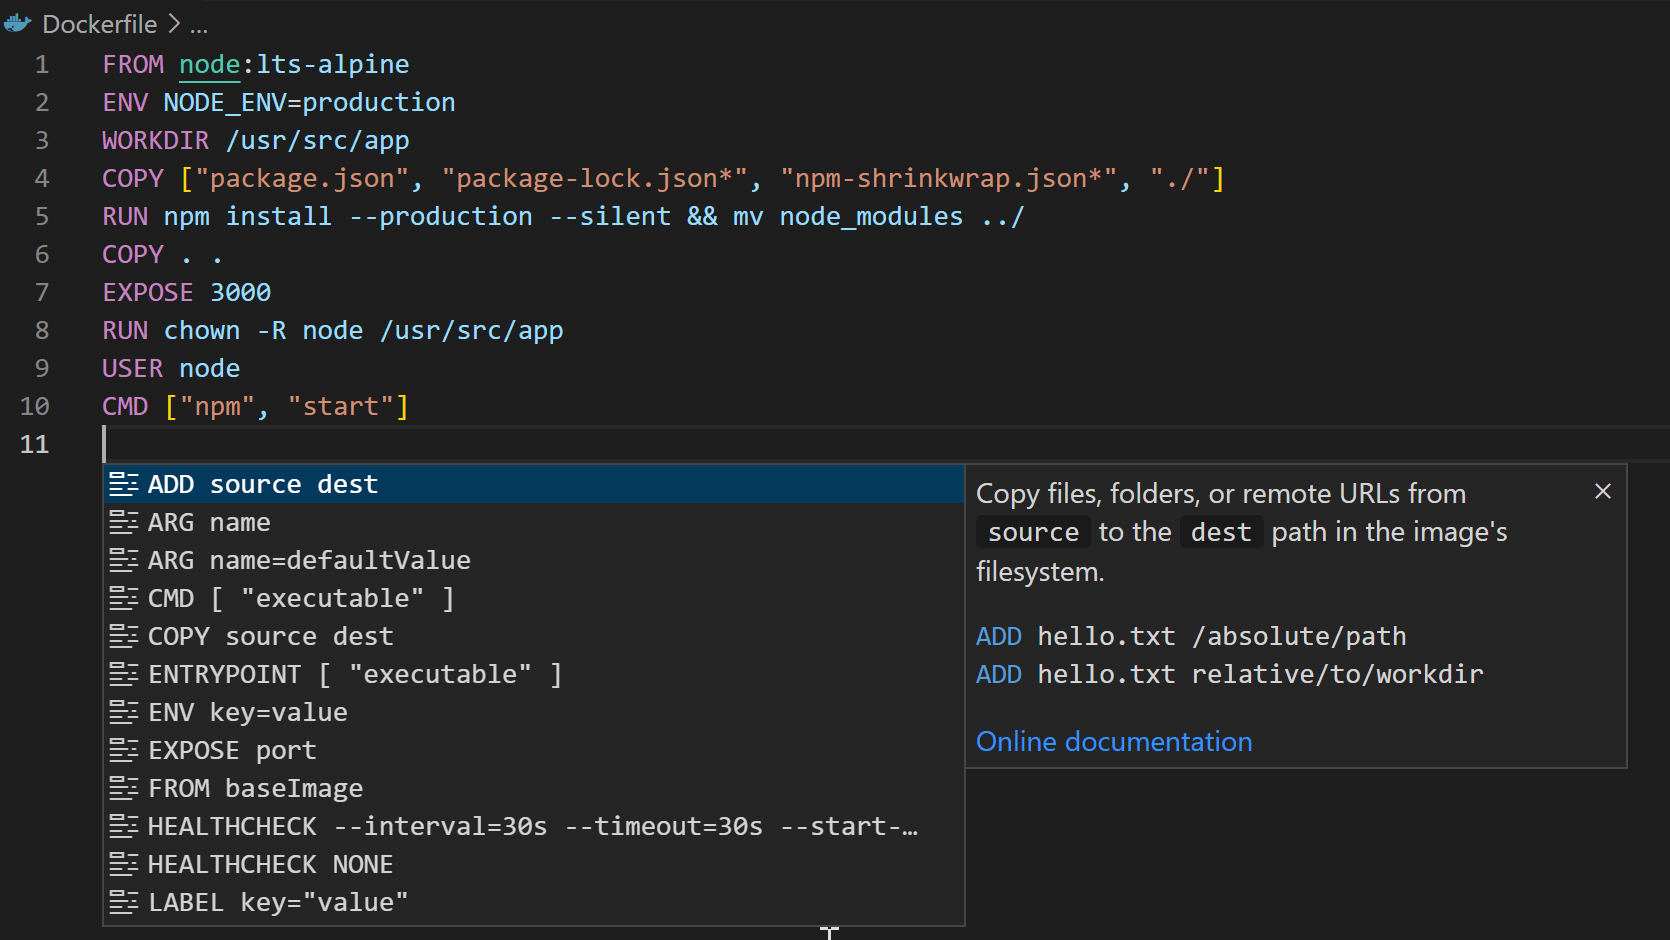
You can get IntelliSense by clicking ⌃Space (Windows, Linux Ctrl+Space) when editing your Dockerfile and docker-compose.yml files, with completions and syntax help for common commands.
In addition, you can use the Problems panel (⇧⌘M (Windows, Linux Ctrl+Shift+M)) to view common errors for Dockerfile and docker-compose.yml files.
Generating Docker files
You can add Docker files to your workspace by opening the Command Palette (⇧⌘P (Windows, Linux Ctrl+Shift+P)) and using Containers: Add Docker Files to Workspace command. The command will generate Dockerfile and .dockerignore files and add them to your workspace. The command will also ask you if you want to add Docker Compose files as well, but this is optional.
The extension can scaffold Docker files for most popular development languages (C#, Node.js, Python, Ruby, Go, and Java) and customizes the generated Docker files accordingly. When these files are created, we also create the necessary artifacts to provide debugging support for Node.js, Python, and .NET (C#).
Container Explorer
The Container Tools extension contributes a Container Explorer view to VS Code. The Container Explorer lets you examine and manage container assets: containers, images, volumes, networks, and container registries. If you are signed in to your Microsoft account and it has access to Azure subscriptions, you can browse your Azure Container Registries as well.
The right-click menu provides access to commonly used commands for each type of asset.
You can rearrange the Container Explorer panes by dragging them up or down with a mouse and use the context menu to hide or show them.
Container commands
Many of the most common container-related commands are built right into the Command Palette:
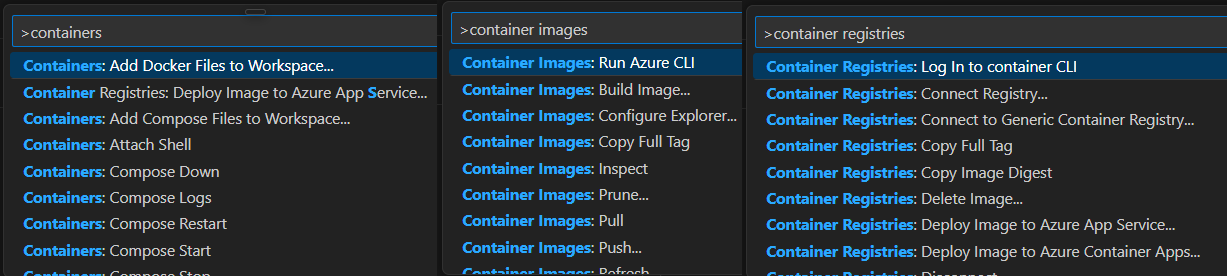
You can run commands to manage images, networks, volumes, image registries, and Docker Compose. In addition, the Containers: Prune System command will remove stopped containers, dangling images, and unused networks and volumes.
Docker Compose
Docker Compose lets you define and run multi-container applications with Docker. Our Compose Language Service in the Container Tools extension gives you IntelliSense and tab completions when authoring docker-compose.yml files. Press ⌃Space (Windows, Linux Ctrl+Space) to see a list of valid Compose directives.
We also provide tooltips when you hover over a Docker Compose YAML attribute.

While Compose Up allows you to run all of your services at once, our new feature Compose Up - Select Services lets you select any combination of the services you want to run.
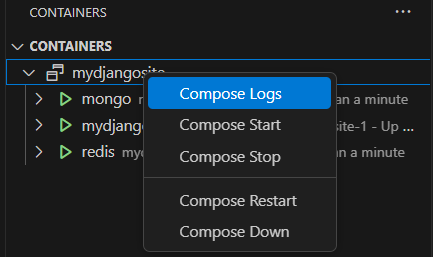
Once your Compose Up command completes, navigate to the Container Explorer to view your services as a Compose Group. This allows you to start, stop, and view the logs of each service as a group.
Using image registries
You can display the content and push, pull, or delete images from Azure Container Registry, Docker Hub, GitHub, and more:
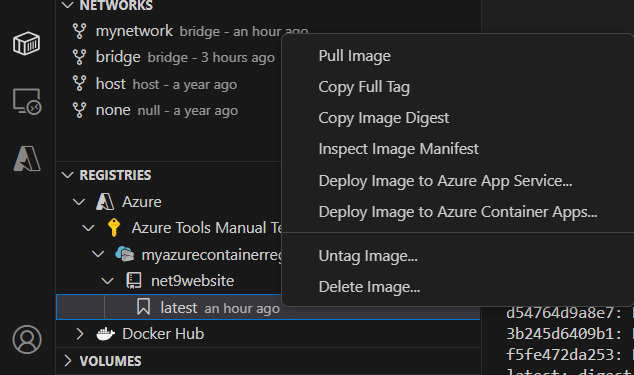
An image in an Azure Container Registry can be deployed to Azure App Service or Azure Container Apps directly from VS Code. See Deploy to Azure to get started. For more information about how to authenticate to and work with registries, see Using container registries.
Debugging services running inside a container
You can debug services built using .NET (C#) and Node.js that are running inside a container. The extension offers custom tasks that help with launching a service under the debugger and with attaching the debugger to a running service instance. For more information, see Debug containerized apps and Customize the Container Tools extension.
Azure CLI integration
You can start Azure CLI (command-line interface) in a standalone, Linux-based container with Container Images: Run Azure CLI command. This gives you access to the full Azure CLI command set in an isolated environment. For more information on available commands, see Get started with Azure CLI.
Next steps
Read on to learn more about