Getting Started with Azure Tools for Visual Studio Code
The Azure Tools extension pack enables developers to access Azure's cloud services within their current environment, simplifying the process of building web applications, managing backend services, deploying APIs, and handling large datasets. This guide is specifically designed for Azure Tools within VS Code. It provides essential tips for getting started, writing code, deploying applications, troubleshooting with logs, utilizing Azure resources, and effectively navigating your code within VS Code.
Get started
Install the Azure Tools extension pack. Open VS Code, navigate to the Extensions view, and search for “Azure Tools.” Install the Azure Tools extension pack from Microsoft.
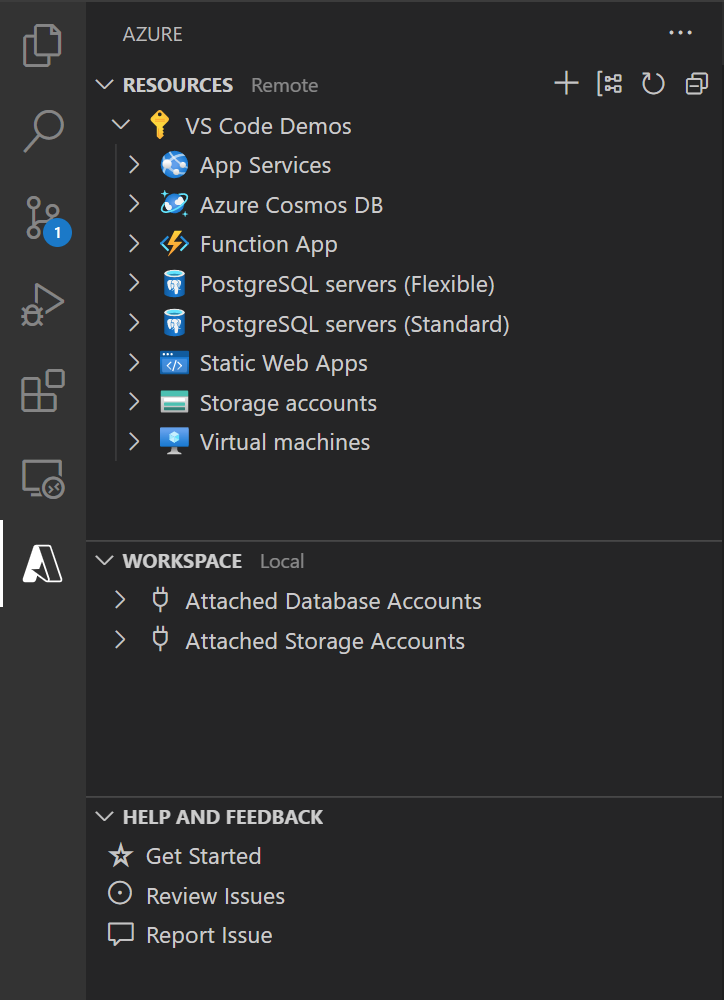
Navigate to the Azure Resources view. Select the Azure icon in the Activity Bar (sidebar) to open the Azure Resources view. Once you're signed in to your Azure account, the Azure Resources view displays all your existing resources. You can create and manage these services right from VS Code.
![]()
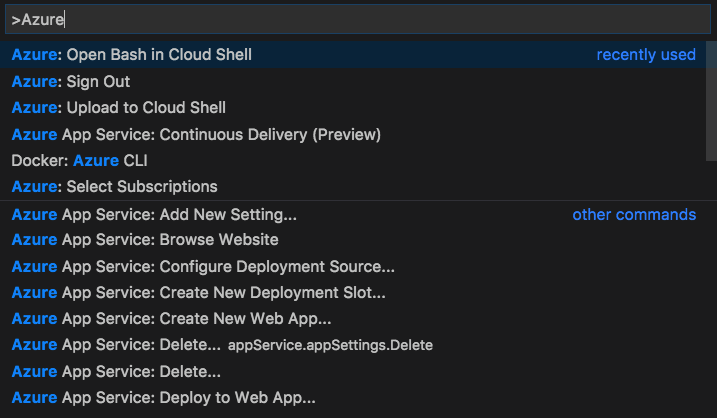
Search Azure commands with the Command Palette. An important key combination to know is (⇧⌘P (Windows, Linux Shift+cmd+P)), which brings up the Command Palette. It is your starting point for access to all functionality within VS Code including commands, keyboard shortcuts, and opening files.
In the Command Palette, type Azure to list the commands that are specific to Azure. For example, to open the Cloud Shell.
Open folders. A Visual Studio Code workspace is the collection of one or more folders that are opened in a VS Code window (instance). In most cases, you will have a single folder opened as the workspace. You can open a workspace by using the File > Open Folder... menu, and then selecting a folder. However, depending on your development workflow, you can include more than one folder, using an advanced configuration called Multi-root workspace.
Review settings. To edit or review your current settings in VS Code, use (⌘, (Windows, Linux cmd+,)), to open the Settings editor. It is helpful to review settings that any of the extensions may contribute.
Identify and customize keyboard shortcuts. You can use the Keyboard Shortcuts editor (⌘K ⌘S (Windows, Linux cmd+K cmd+S)) to find and configure keyboard shortcuts in VS Code. Get more info about Keyboard Shortcuts editor.
Redisplay notifications. You can right-click the bell icon in the bottom right of the Status Bar in VS Code to see missed notifications.
Write Code
Save time with these features: efficiently create and manage Azure resources, organize files and deploy easier, customize to align with your workflow, and seamlessly create Azure resources from installed extensions directly within VS Code.
Resource and Workspace views Use the Resources explorer to create and manage Azure resources. Use the Workspace explorer to create files and deploy.
Grouping Change the way resources are grouped to fit your workflow.
Create Resources Create an Azure resource from your installed extensions directly in VS Code.
Troubleshooting Azure apps/resources
Quickly locate and review detailed log information, access your recent activities, and easily manage the resources you've recently created.
Find logs. The Output Channel displays textual information such as logs, messages, and other information. Use Ctrl+Shift+U to show Output.
Tip: More verbose log info is found in the Output Channel.
Access resources. View all of your recent activities and quickly access resources you've recently created in the Activity Log.
Next steps
- Deployment - Learn how to deploy your apps to the cloud using Azure.