Project management
When you create a C# application in Visual Studio Code, you start with a project. A project contains all files (such as source code, images, etc.) that are compiled into an executable, library, or website. All of your related projects can then be stored in a container called a solution. This article shows you how you can maintain all your projects and their respective files via the Solution Explorer view.
Note: The C# Dev Kit extension is required to use the Solution Explorer view in VS Code.
Solution Explorer
The new C# Dev Kit extension contains a new view in the Primary Sidebar, the Solution Explorer. This view provides a structured view of your application, its solutions, and its projects for effortless, central project management. When you open a Workspace that contains .NET solution files or project files, the Solution Explorer will automatically appear.
Tip: If the Solution Explorer section is not visible in the Explorer pane, you can enable it manually. Open the Explorer view, select the Views and More Actions (
...) button in the Explorer title bar, and check Solution Explorer to toggle it on. Note that right-clicking the Activity Bar does not control this specific view.
If you have a single solution file (.sln file) in the workspace, the Solution Explorer will detect that file and automatically load it after the workspace is loaded. For example, take a look at the animation below showing the experience of opening a workspace with a single solution file.
In the animation above, the workspace was loaded into VS Code for the first time. After the workspace is loaded, the Solution Explorer detects the lone .sln file and automatically loads that.
When you have more than one solution file in the workspace, you will be prompted to select the specific solution file to load. After a solution file is loaded for a workspace, the extension will remember which solution file was loaded last and automatically reload that file when the workspace is loaded in VS Code. In the animation below, you can see the experience of opening a workspace with multiple solution files for the first time.
In the video above, after the workspace is loaded, the Solution Explorer detects that the workspace contains multiple solution files and you are prompted to select the solution to load with the standard VS Code notification. Going forward when you open the same workspace, the Solution Explorer remembers which solution file was loaded last and automatically reload that.
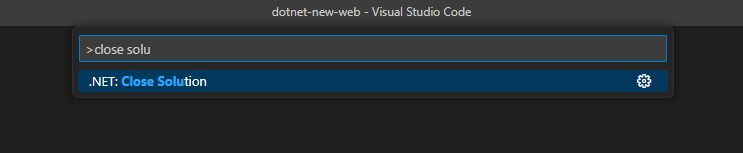
When you have a solution loaded in the Solution Explorer and you would like to close that solution, you can use the Close Solution command. You can find this command in the context menu when you right-click on a solution in the Solution Explorer.

You can also invoke this command in the Command Palette. You can open the Command Palette with ⇧⌘P (Windows, Linux Ctrl+Shift+P). This is shown in the following image.
After closing the solution, the Solution Explorer will show a button so that you can open a solution file from the workspace later. You can also invoke that command with the Command Palette with the .NET: Open Solution command.
When you invoke the Open Solution command, if there is a single solution file in the workspace, it will automatically load that. When there are multiple solution files, you'll be prompted to select the solution file to load. This is the same experience when you first open a workspace with one, or more, solution files. Let's move on to discuss the support for Solution Folders in the Solution Explorer.
Solution Folders
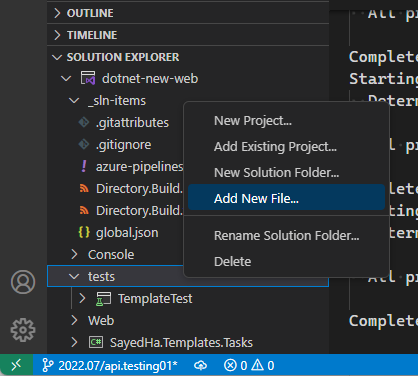
In the Solution Explorer, if a solution contains Solution Folders (virtual folders used to group projects in a solution), they will be displayed. Here, you can interact with Solution Folder contents. To add a new Solution Folder, you can right-click the solution and select the New Solution Folder menu item. Take a look at the short video below.
In the video above, a new Solution Folder named "tests" was created. After creating a Solution Folder, you can add a project into it with the Add Existing Project context menu. The animation below shows this experience.
You can also add a new file to the Solution Folder with the Add New File context menu shown in the following image.
After you invoke this command, you will be prompted to select the file template to be used in the Command Palette. The image below shows this.
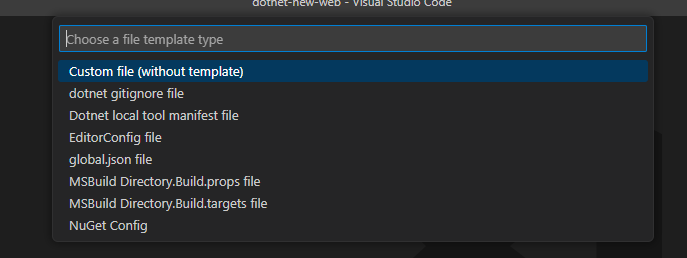
This list shows the file templates that the extension currently supports for Solution Folders. To create a file without using a template (to create a blank file), select Custom file (without template).
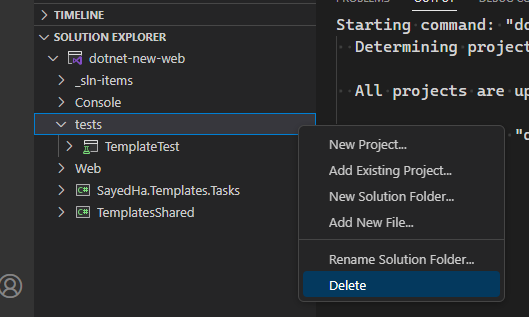
To remove a Solution Folder, you can use the Remove context menu option.
When you remove a Solution Folder from a solution, the Solution Folder and its contents are removed from the solution. The files, and/or projects, that it contains are not deleted from disk. Now that we've discussed Solution Folders, let's move on to see how to interact more with projects in the Solution Explorer.
Working with projects
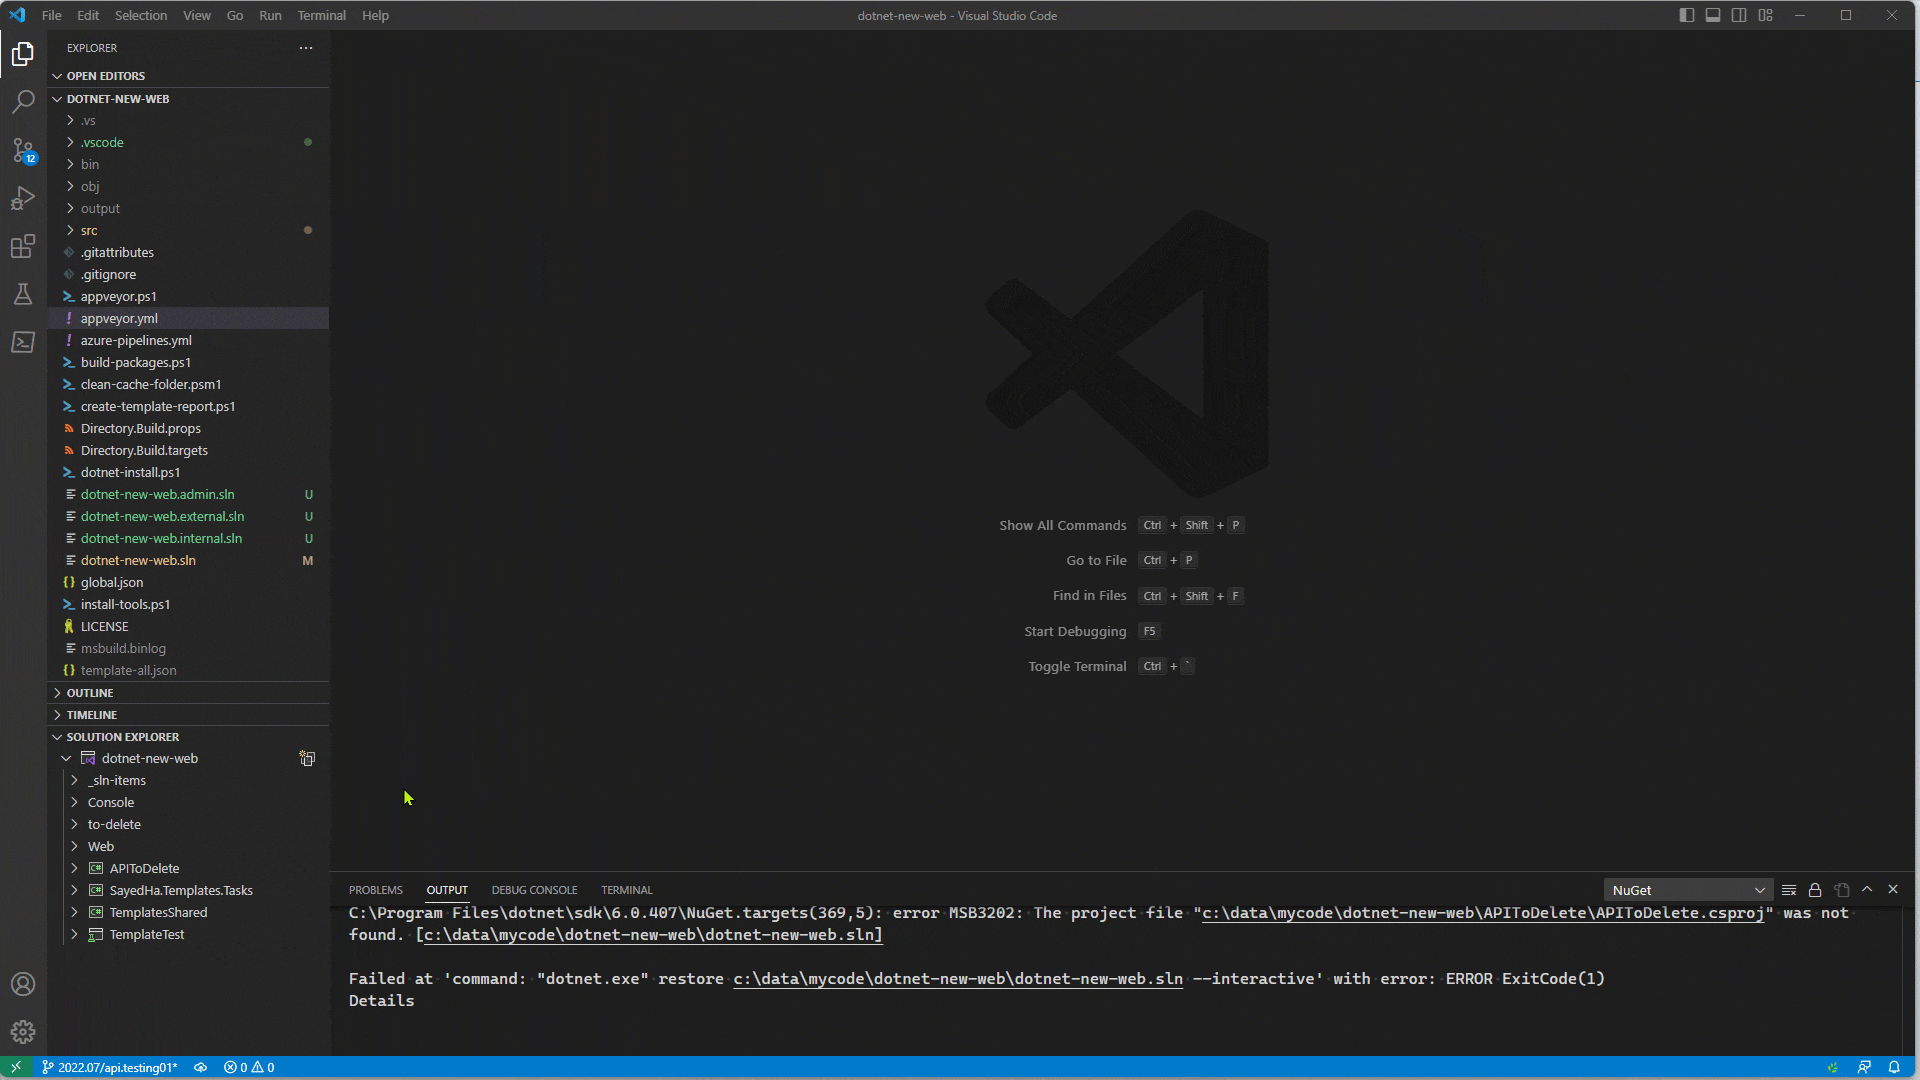
In the Solution Explorer, there are a number of features to enable you to work with projects. When you first open a solution, you will see the projects and Solution Folders. You can expand Solution Folders or projects to see its contents. The image below shows the Solution Explorer with a few nodes expanded.
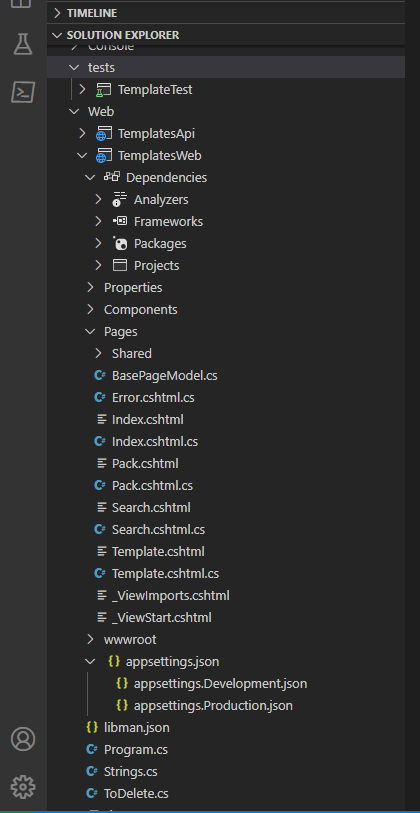
In the image above, we can see the Solution Explorer with a couple Solution Folders expanded, as well as the TemplatesWeb project. There is minimal file nesting supported in this release, we will expand on that support to be more consistent with the file nesting that is seen in Visual Studio IDE.
From here, you can open files by double clicking them in the Solution Explorer. You can also right-click items in the Solution Explorer to get a context specific menu for available actions. For example, to add a new file to a project, right-click on the project and select Add New File. When you select that option, you'll be prompted to choose the file template to be used for the default content. You'll get the best experience here if you are working on a project targeting .NET 7.0.200 or above.
You can also add files into projects by creating files as you normally would in VS Code and save them under the folder containing the project file. By default, new files added to the project folder will automatically be added to the project.
In the project view, you can also see the dependencies that the project has, both for Project References as well as Package References. In this version of the C# Dev Kit, you don't have the ability to modify the dependencies. To add a dependency to a project or package reference, you can use the dotnet add command line tool. To add a package reference, see dotnet add package command - .NET CLI and to add a project reference, see dotnet add reference command - .NET CLI. To remove a reference, use dotnet remove. You can read more information at how to remove a package reference and how to remove a package.
If you would like to see or edit a project file, select the Project node in the Solution Explorer, and the project file will be opened in the editor. This is the same behavior you'll find when selecting a file in the Solution Explorer.
Using the Solution Explorer, you can also perform common actions such as Build, Rebuild, and Clean using the context menus. You will see these context menus when you have selected the Solution node or project node in the Solution Explorer. This will Build/Rebuild/Clean the selected item as well as its dependencies.