NuGet in Visual Studio Code
NuGet is the package manager for .NET. It defines how packages for .NET are created, hosted, and consumed, while providing the tools for each of those functions. NuGet also manages the dependency tree on behalf of a project, so you only need to focus on the packages that you're directly using in a project.
In Visual Studio Code, you can manage your NuGet packages either directly from the C# Dev Kit Solution explorer, or by using the Command Palette.
To learn more about NuGet, go to the NuGet documentation.
NuGet commands in C# Dev Kit
In C# Dev Kit, you can perform NuGet package operations in one of two ways:
-
Using the Command Palette (⇧⌘P (Windows, Linux Ctrl+Shift+P))
-
Right-clicking in the C# Dev Kit Solution explorer
The following sections describe how to use each NuGet command, using both of these two methods.
Add a package
-
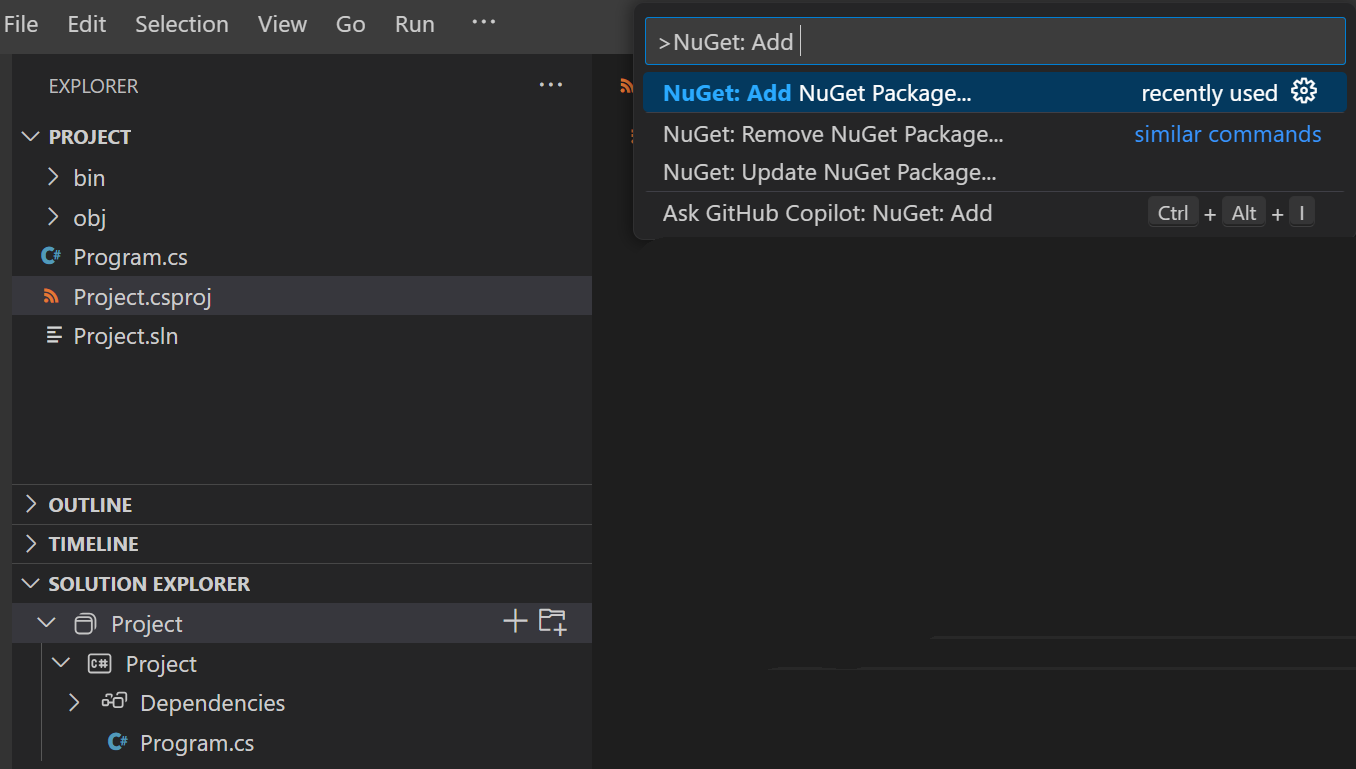
To add a NuGet package to your project, use the command NuGet: Add NuGet Package in the Command Palette (⇧⌘P (Windows, Linux Ctrl+Shift+P)).
-
If you have more than one project in your solution, you are asked to select which project you want to add the package to.

-
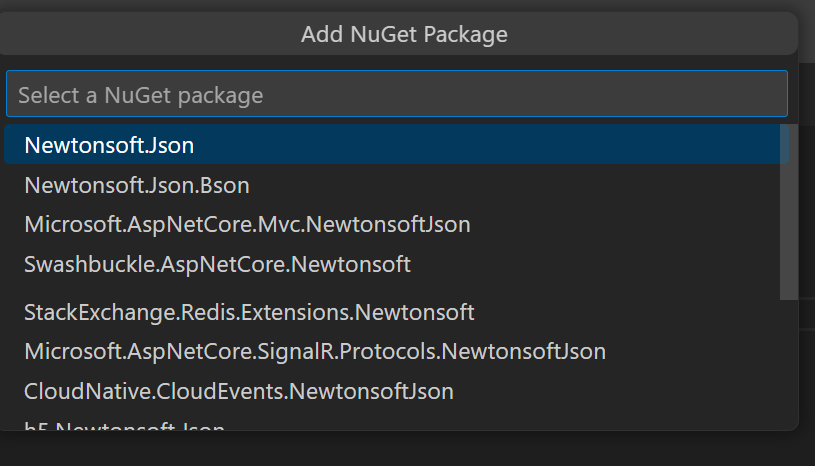
Next, enter a search term to search for NuGet packages by name.

The Quick Pick shows a list of example NuGet packages to choose from.
-
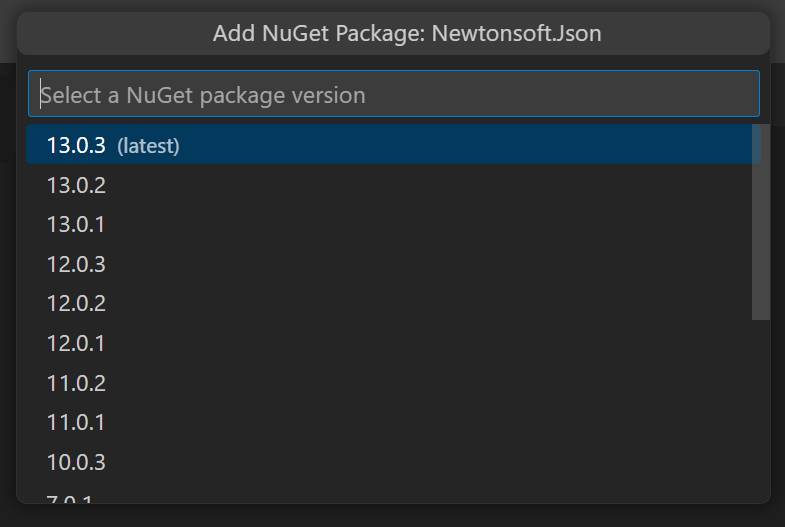
Next, select the version you want to apply.
-
After you select a package and version number, C# Dev Kit adds it to your project and updates your project file and references.
Update a package
-
To update a NuGet package in your project, use the command NuGet: Update NuGet Package in the Command Palette (⇧⌘P (Windows, Linux Ctrl+Shift+P)).
-
If you have more than one project in your solution, you are asked to select which project contains the package that you would like to update.
-
Next, choose which package to update from the list of packages that are currently installed in your project and that have an update available. If no packages in your solution have an update available, you see a message notifying you of this.
-
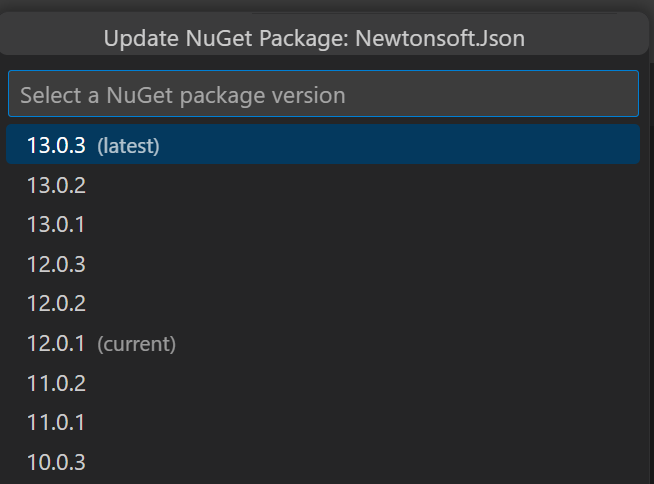
Finally, you can select which version you would like to update the package to from a dropdown list of available versions.
-
C# Dev Kit then performs the necessary changes and updates your project file and references.
Remove a package
-
To remove a NuGet package from your project, use the command NuGet: Remove NuGet Package in the Command Palette (⇧⌘P (Windows, Linux Ctrl+Shift+P)).
-
If you have more than one project in your solution, you are asked to select which project that you would like to remove a package from.
-
Next, choose which package you want to remove from the list of packages that are currently installed in your project.
-
C# Dev Kit then performs the necessary changes and updates your project file and references.
Include prerelease package versions
If you are looking to update or add a prerelease version of a NuGet package, you first need to set the Include Prerelease Package Versions to true.
You can find this option under File > Preferences > Settings (⌘, (Windows, Linux Ctrl+,)) and searching for nuget.includePrereleasePackageVersions to true.
Dependency management
Automatic NuGet restore
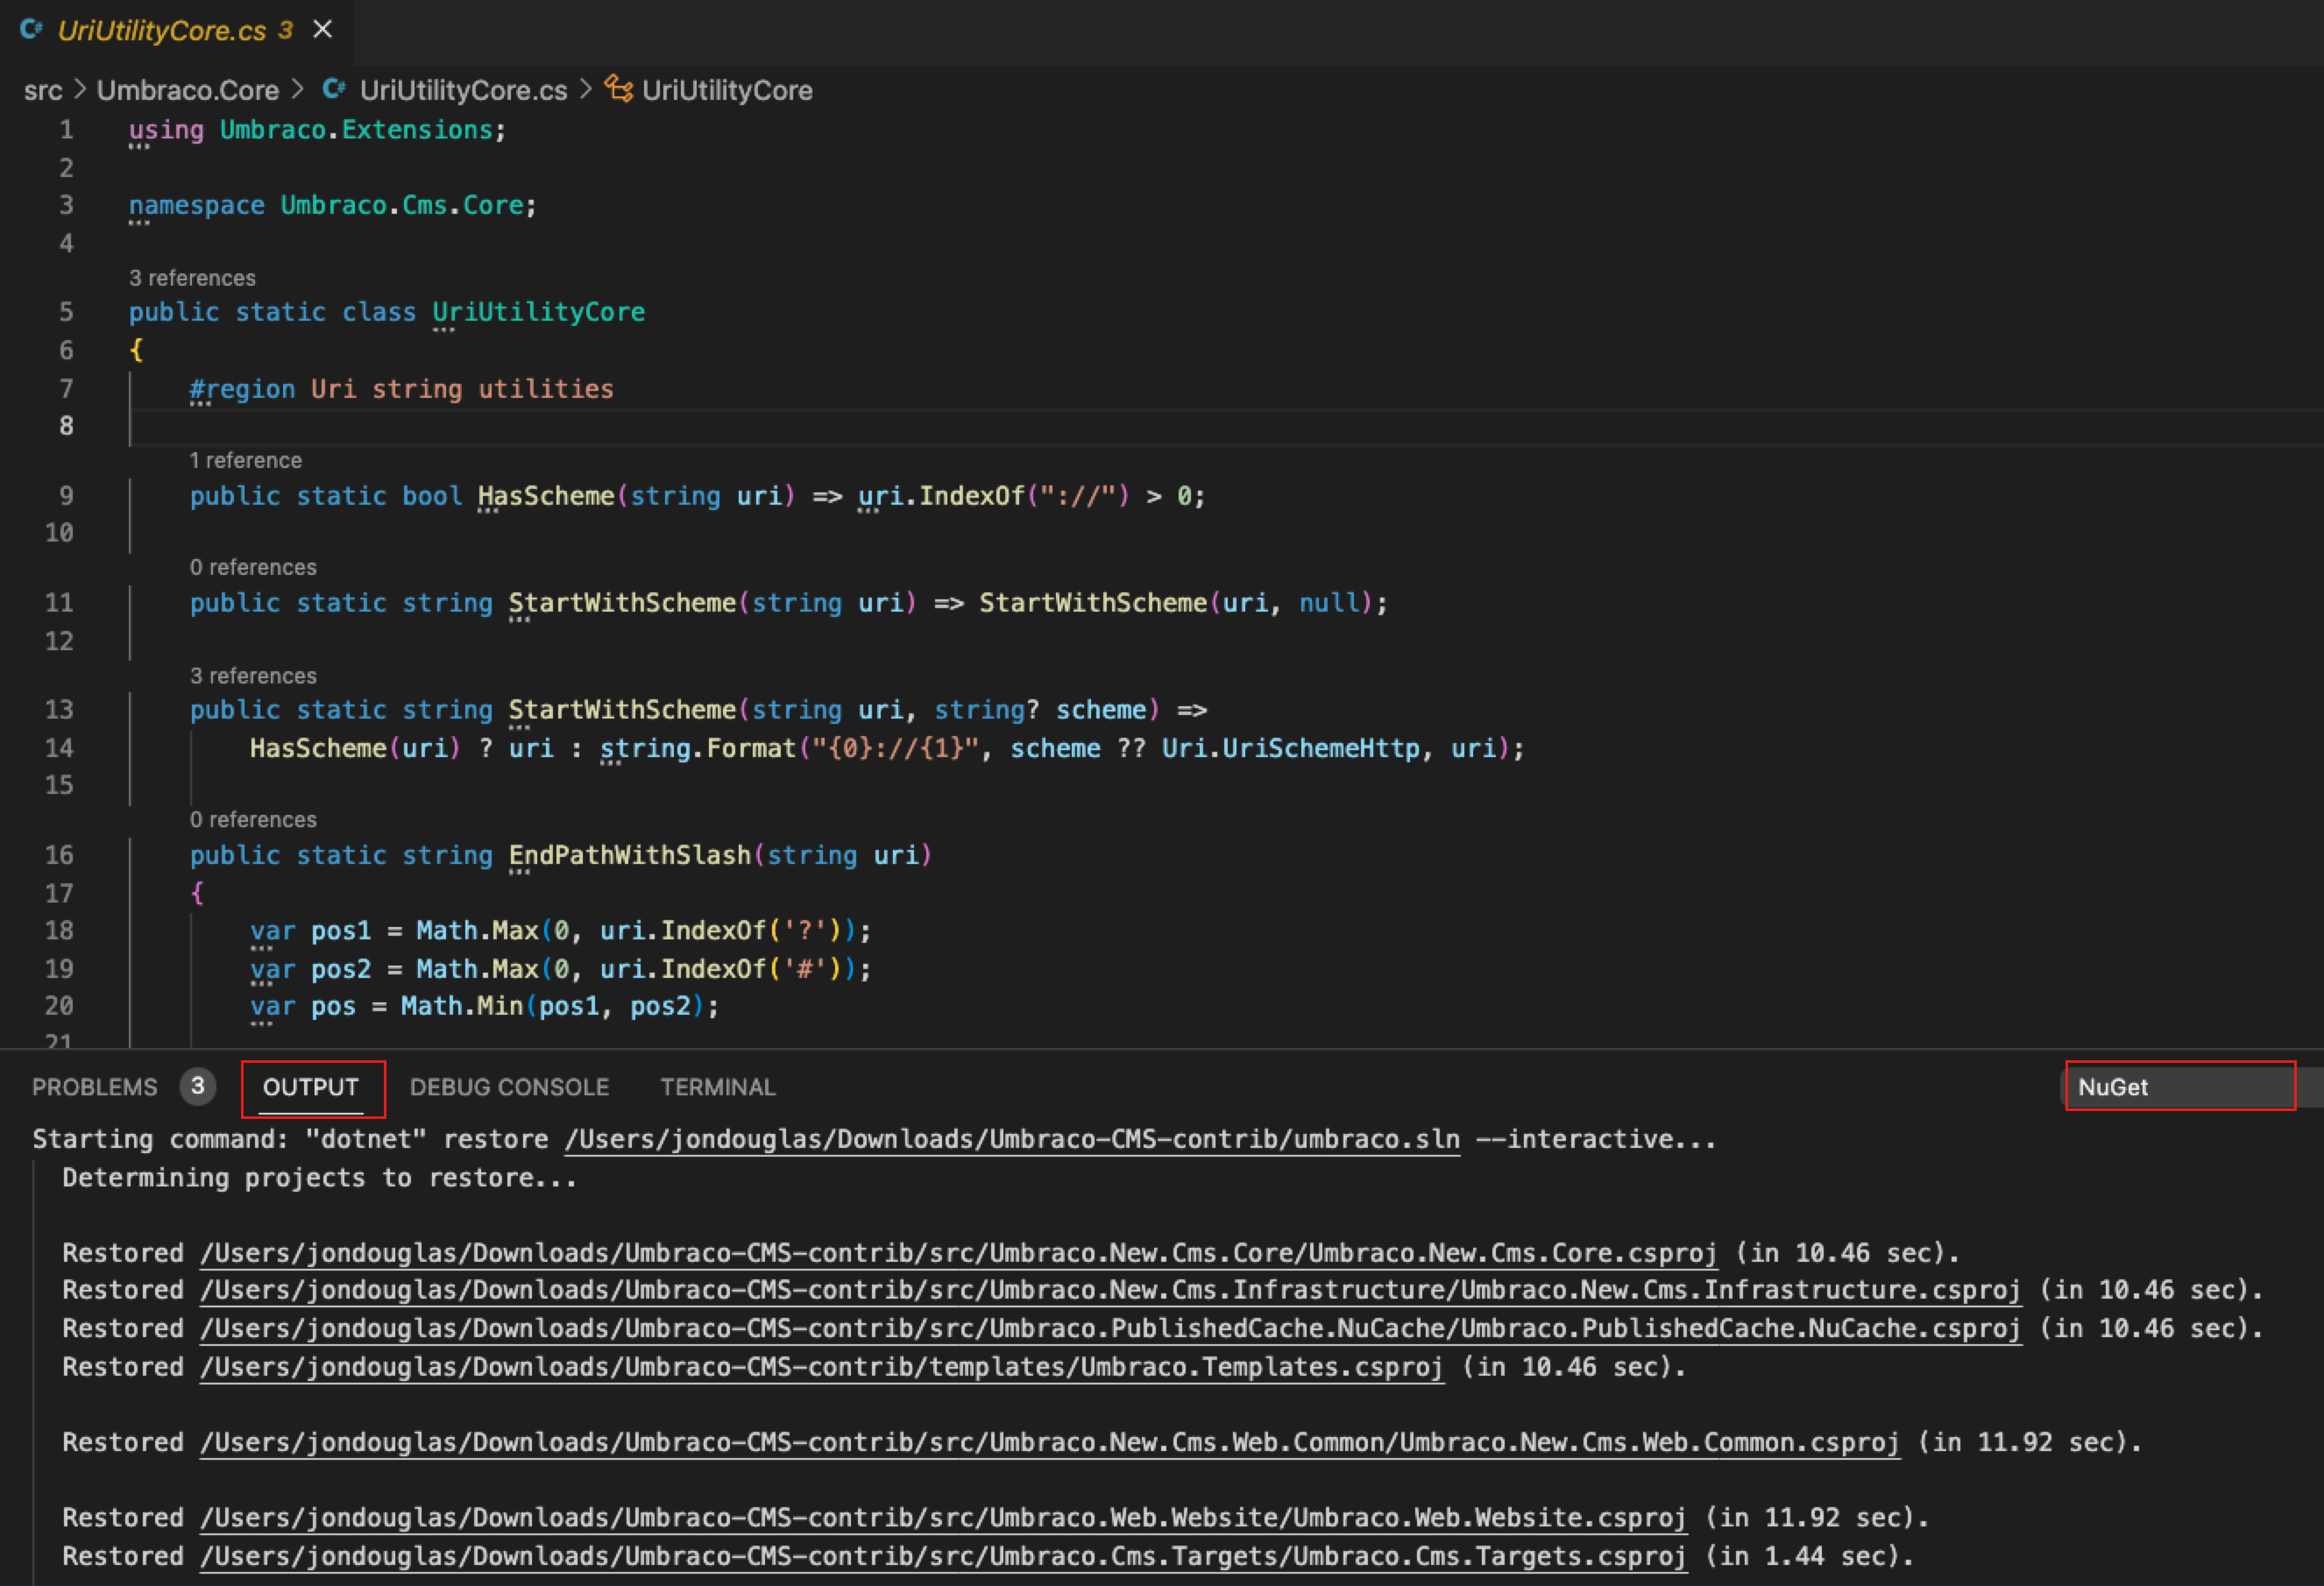
For a .NET project, a package restore happens automatically when you create a project from a template, build, load, or make changes to an SDK-style project. You can view in the progress and logs in the Output panel.
For projects that use <PackageReference>, you can see the package references in the Solution Explorer section of Visual Studio Code.
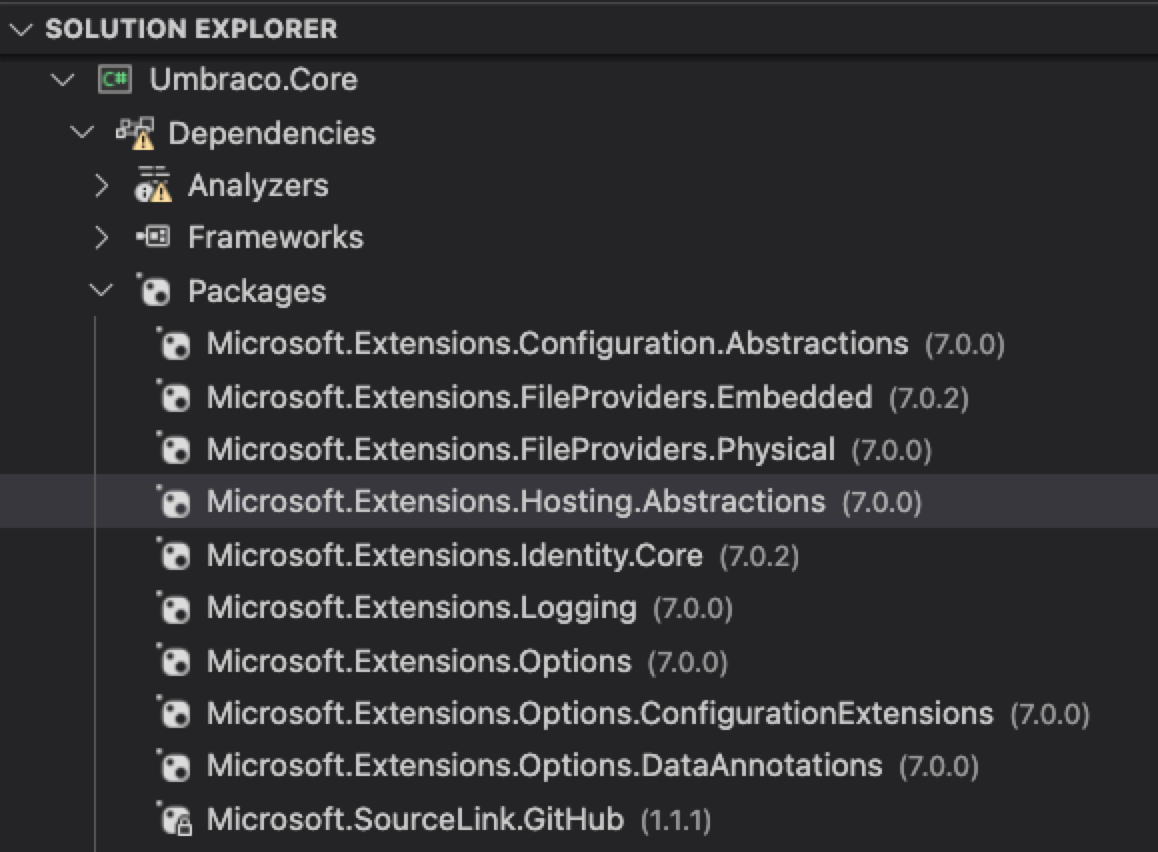
Packages that don't install properly when a restore happens or when you run a build, will show error icons in Solution Explorer.
Note: At this time, you cannot right-click on projects to manage your NuGet packages and there is not a NuGet Package Manager user interface in Visual Studio Code.
For more information on managing packages, see Install and manage NuGet packages with the dotnet CLI.