Using .NET in Visual Studio Code
.NET provides a fast and modular platform for creating many different types of applications that run on Windows, Linux, and macOS. Use Visual Studio Code with the C# and F# extensions to get a powerful editing experience with C# IntelliSense, F# IntelliSense (smart code completion), and debugging.
Setting up VS Code for .NET development
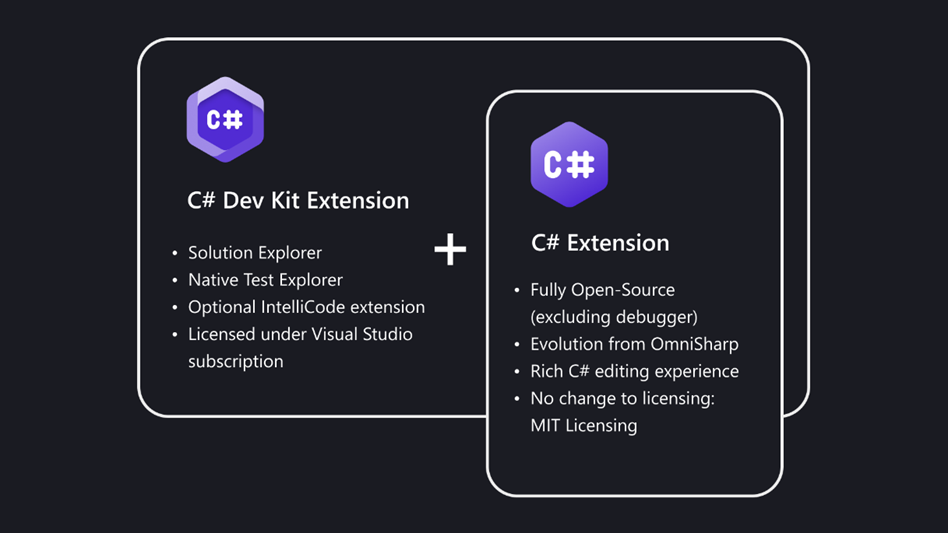
If you are an existing VS Code user, you can add .NET support by installing the C# Dev Kit extension. C# Dev Kit brings a productive and reliable C# experience into VS Code, facilitating C# or multi-language development in VS Code. This extension pack consists of a set of VS Code extensions that work together to provide a rich C# editing experience, AI-powered development, solution management, and integrated testing experiences. As shown in the graphic below, C# Dev Kit consists of:
- The C# extension, which provides the base language services support and continues to be worked on and maintained independent of this effort.
- C# Dev Kit extension, which builds on the same base foundation as Visual Studio and provides solution management, templates, test discovery/debugging.
- The IntelliCode for C# Dev Kit extension(optional), which provides the AI-powered development experience to the editor.
If your projects require F# support, you can also download the .NET Extension Pack, which includes these extensions:
You can also install extensions separately.
Installing the .NET Software Development Kit
If you download the extensions separately, ensure that you also have the .NET SDK on your local environment. The .NET SDK is a software development environment used for developing .NET applications.
Create a C# "Hello World" app
-
Initialize a C# project:
- Open a terminal/command prompt and navigate to the folder in which you'd like to create the app.
- Enter the following command in the command shell:
dotnet new console -
When the project folder is first opened in VS Code:
- A "Required assets to build and debug are missing. Add them?" notification appears at the bottom right of the window.
- Select Yes.
-
Run the app by entering the following command in the command shell:
dotnet run
Create an F# "Hello World" app
-
Initialize an F# project:
- Open a terminal/command prompt and navigate to the folder in which you'd like to create the app.
- Enter the following command in the command shell:
dotnet new console -lang "F#" -
Once it completes, open the project in Visual Studio Code:
code . -
Run the app by entering the following command in the command shell:
dotnet run
Next steps
- C# Dev Kit documentation
- Continue exploring C# development: Debug with VS Code and .NET
- Basic Editing - Learn about the powerful VS Code editor.
- Code Navigation - Move quickly through your source code.
- Working with C# - Learn about the great C# support you'll have when working on your .NET application.
- Tasks - Running tasks with Gulp, Grunt, and Jake. Showing Errors and Warnings
- .NET Docs - Visit the .NET docs for more information on this powerful cross-platform development solution.
- Deploying Applications to Azure - Deploy your app to Azure.
- Get Started with F# in Visual Studio Code