Source Control in VS Code
Visual Studio Code has integrated source control management (SCM) that lets you work with Git and other version control systems directly in your editor. Git support is built-in, and you can install extensions for other SCM providers from the Visual Studio Marketplace.
The integrated source control interface provides access to Git functionality through a graphical interface instead of terminal commands. You can perform Git operations like staging changes, committing files, creating branches, and resolving merge conflicts without switching to the command line.
Changes you make in the VS Code interface are synced with your command-line Git operations, so you can use both the UI and terminal as needed. The source control interface works alongside the command line rather than replacing it.
Prerequisites
To use Git features in VS Code, you need:
-
VS Code uses your machine's Git installation. Install Git version 2.0.0 or later on your machine.
-
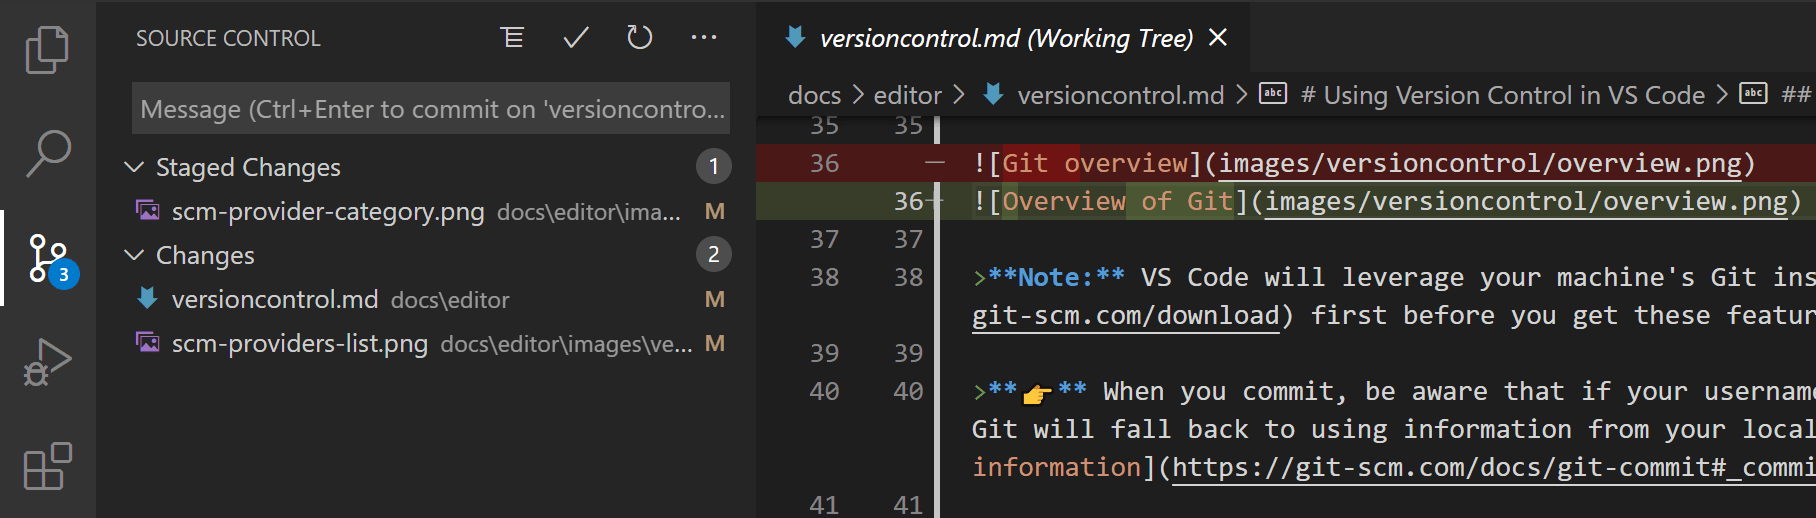
When you commit changes, Git uses your configured username and email. You can set these values with:
git config --global user.name "Your Name"
git config --global user.email "your.email@example.com"
If you're new to Git, the git-scm website is a good place to start, with a popular online book, Getting Started videos and cheat sheets.
Get started with a repository
VS Code automatically detects when you open a folder that's a Git repository and activates all source control features. To get started with a new or existing repository, you have several options:
-
Initialize a new repository: Create a new Git repository for your current folder.
-
Clone a repository: Clone an existing repository from GitHub or another Git host.
-
Open a remote repository: Work with a repository without cloning it to your local machine with the GitHub Repositories extension.
You can publish a local repository directly to GitHub with the Publish to GitHub command, which creates a new repository and pushes your commits in one step.
Learn more about cloning and publishing repositories.
Source control interface
VS Code provides Git functionality through several key interface elements. This UI integration enables you to perform Git operations without knowing terminal commands:
-
Source Control view: central hub for common Git operations like staging, committing, and managing changes
-
Source Control Graph: graphical representation of your commit history and branch relationships

-
Diff editor: side-by-side file comparisons for effective change review

-
Additional UI elements: in-context Git information like editor gutter indicators or Git blame annotations
Common workflows
Review changes before committing
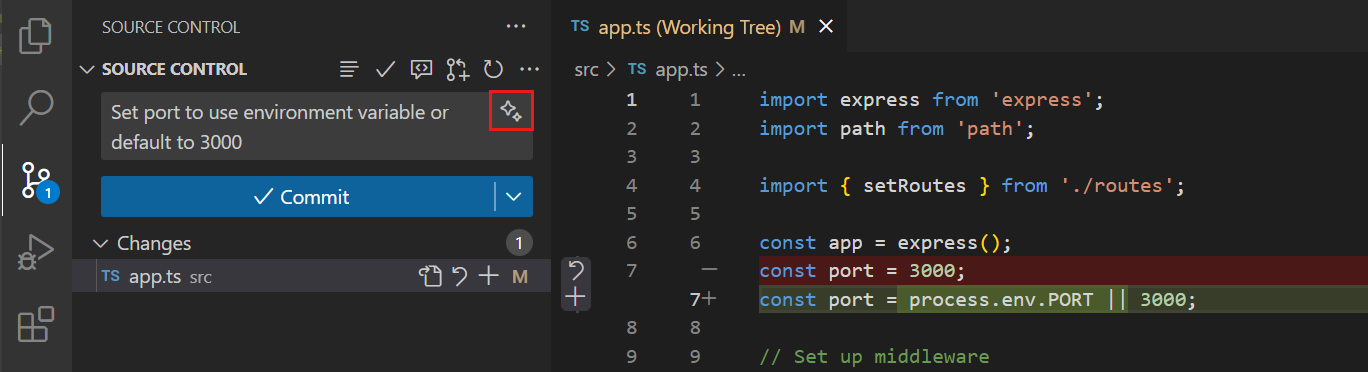
Before committing changes, it's important to review them to ensure accuracy and quality. Use VS Code's AI features to perform a code review of your changes and get review comments and suggestions in the editor.

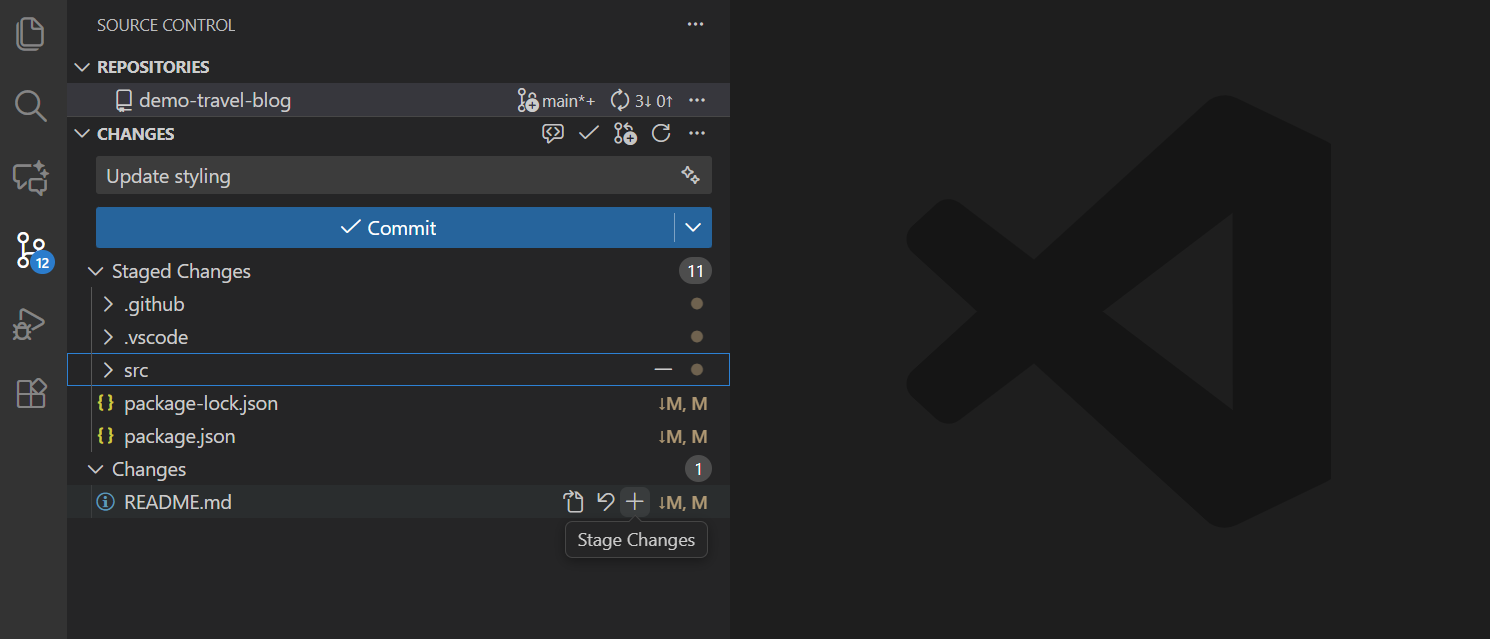
Stage and commit changes
Review your changes in the Source Control view, then stage files by selecting the + icon next to each file or stage all changes at once. For more fine-grained control, stage specific lines or selections from a file's diff view.
Type your commit message in the input box or select the sparkle icon () in the commit message input box to use AI to generate a commit message based on your staged changes.
Learn more about staging changes and writing commits.
Sync with remotes
When your branch is connected to a remote branch, VS Code shows sync status in the Status Bar and shows incoming and outgoing commits in the Source Control view. You can quickly sync or perform individual fetch, pull, and push operations.

Learn more about working with repositories and remotes.
Resolve merge conflicts
When you encounter merge conflicts, VS Code highlights the conflicting files in the Source Control view. Open a file with conflicts to see inline conflict markers. You have several options to resolve the conflicts:
- Use inline editor actions to choose how to resolve the conflicts directly in the editor
- Use the 3-way merge editor for a side-by-side view of changes and merge result
- Use AI assistance to help resolve merge conflicts
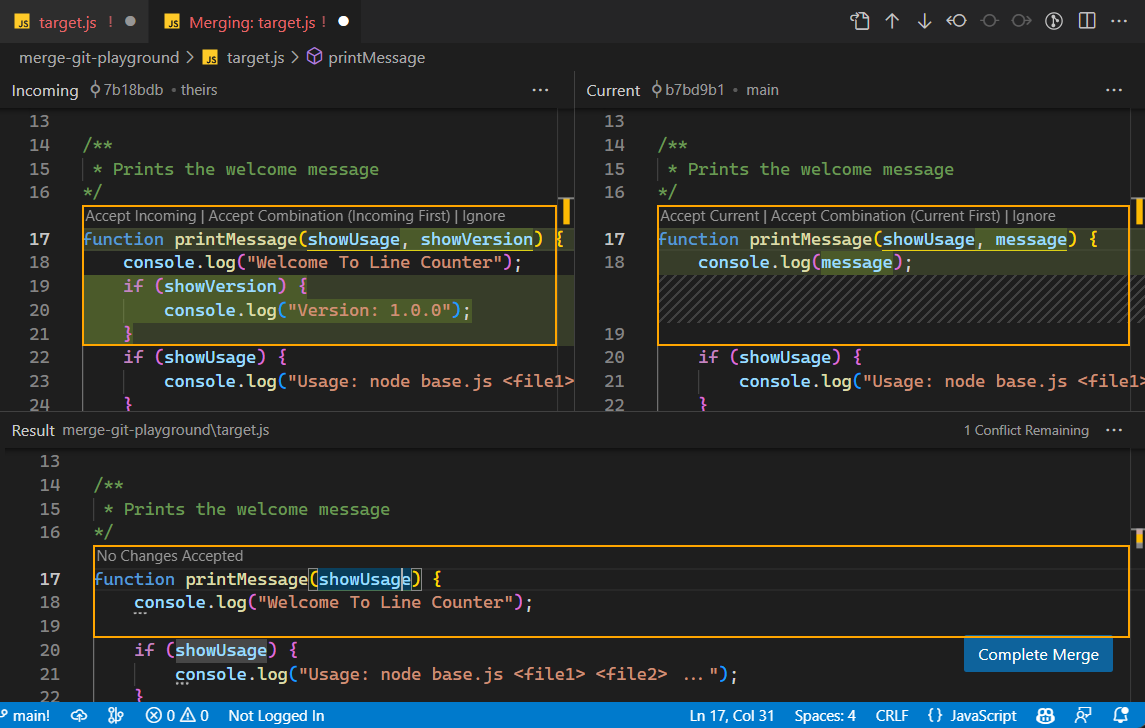
Learn more about resolving merge conflicts.
Work with branches, worktrees, and stashes
VS Code supports multiple workflows for managing parallel development work.
-
Quickly switch between branches within a single workspace to work on different features or fixes.

-
Use Git worktrees to create separate working directories for different branches to work with multiple branches simultaneously.
-
Use Git stashes to temporarily save uncommitted changes when you need to switch contexts quickly.
Learn more about working with branches and worktrees.
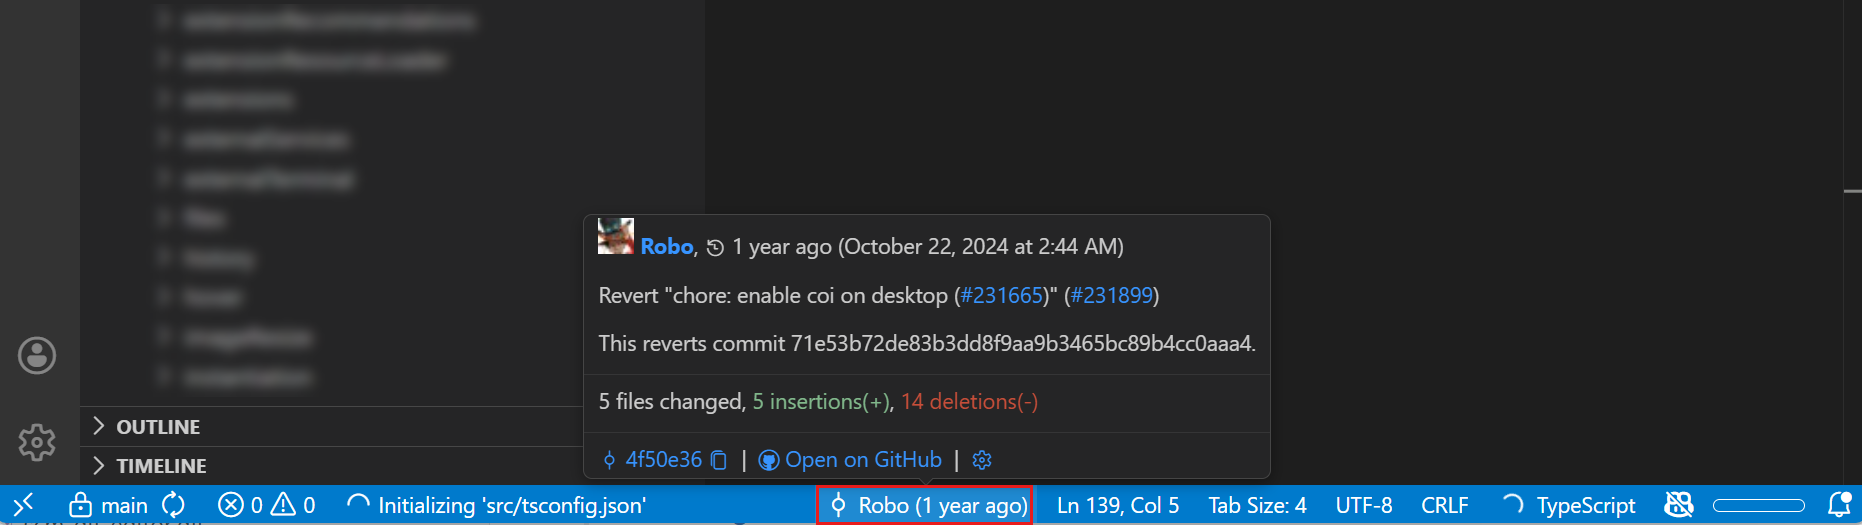
View commit history
It can be helpful to review the commit history to understand how your code has changed over time.
-
The Source Control Graph provides a visual representation of your branch structure and commit history, highlighting incoming and outgoing commits.
-
The Timeline view in the Explorer view shows the commit history for a specific file, allowing you to see how it has evolved. You can filter the timeline to show only Git commits or to also include local file changes.

Learn more about using the Graph and Timeline view and reviewing changes.
Working with GitHub pull requests and issues
VS Code integrates with GitHub to provide pull request and issue management directly in your editor. Install the GitHub Pull Requests and Issues extension to:
- Create, review, and merge pull requests
- View and manage issues
- Comment on and approve PRs without leaving VS Code
- Check out PR branches and review changes locally
Learn more about working with GitHub in VS Code.
Other source control providers
VS Code supports multiple source control providers. While Git support is built-in, you can install extensions for other version control systems like Azure DevOps, Subversion, or Mercurial.
Browse available SCM provider extensions in the Extensions view (⇧⌘X (Windows, Linux Ctrl+Shift+X)) by searching for @category:"scm providers".
Next steps
-
Source Control Quickstart - Quickly get started with Git source control in VS Code
-
Intro Video - Git Version Control - An introductory video providing an overview of VS Code Git support
-
Branches and Worktrees - Learn about branch management, Git worktrees, and stash operations
-
Repositories and Remotes - Learn about cloning, publishing, and syncing with remote repositories
-
Working with GitHub - Learn how to work with pull requests and issues in VS Code
-
Troubleshooting - Diagnose and resolve Git issues with output logs and trace logging
-
Copilot in VS Code - Discover more AI-powered features beyond Git workflows