Unity Development with VS Code
Visual Studio Code makes it easy to write and debug your C# scripts for Unity.
This guide will help you make Unity and Visual Studio Code work together. If you're looking for resources to learn C#, check out our C# curriculum.
If you're looking for resources to learn Unity, check out the learning section of the Unity website.
Read on to find out how to configure Unity and your project to get the best possible experience.
Install
-
You will need at least Unity 2021 installed.
-
If you haven't already done so, install Visual Studio Code.
-
Next, install the Unity for Visual Studio Code extension from the Visual Studio Marketplace. For additional details on installing extensions, read Extension Marketplace. The Unity extension is published by Microsoft.
Installing the Unity extension installs all its dependencies required to write C# with Visual Studio Code, including the C# Dev Kit.
Set up Unity
Update the Visual Studio Package
The Unity extension for Visual Studio Code depends on the Visual Studio Editor Unity Package. In Unity, open up Windows, Packages. Make sure the Visual Studio Editor package is upgraded to 2.0.20 or above.

Note: The
Visual Studio Code Editorpackage published by Unity is a legacy package from Unity that is not maintained anymore.
Set VS Code as Unity's external editor
Open up Unity Preferences, External Tools, then select Visual Studio Code as External Script Editor.

Editing Evolved
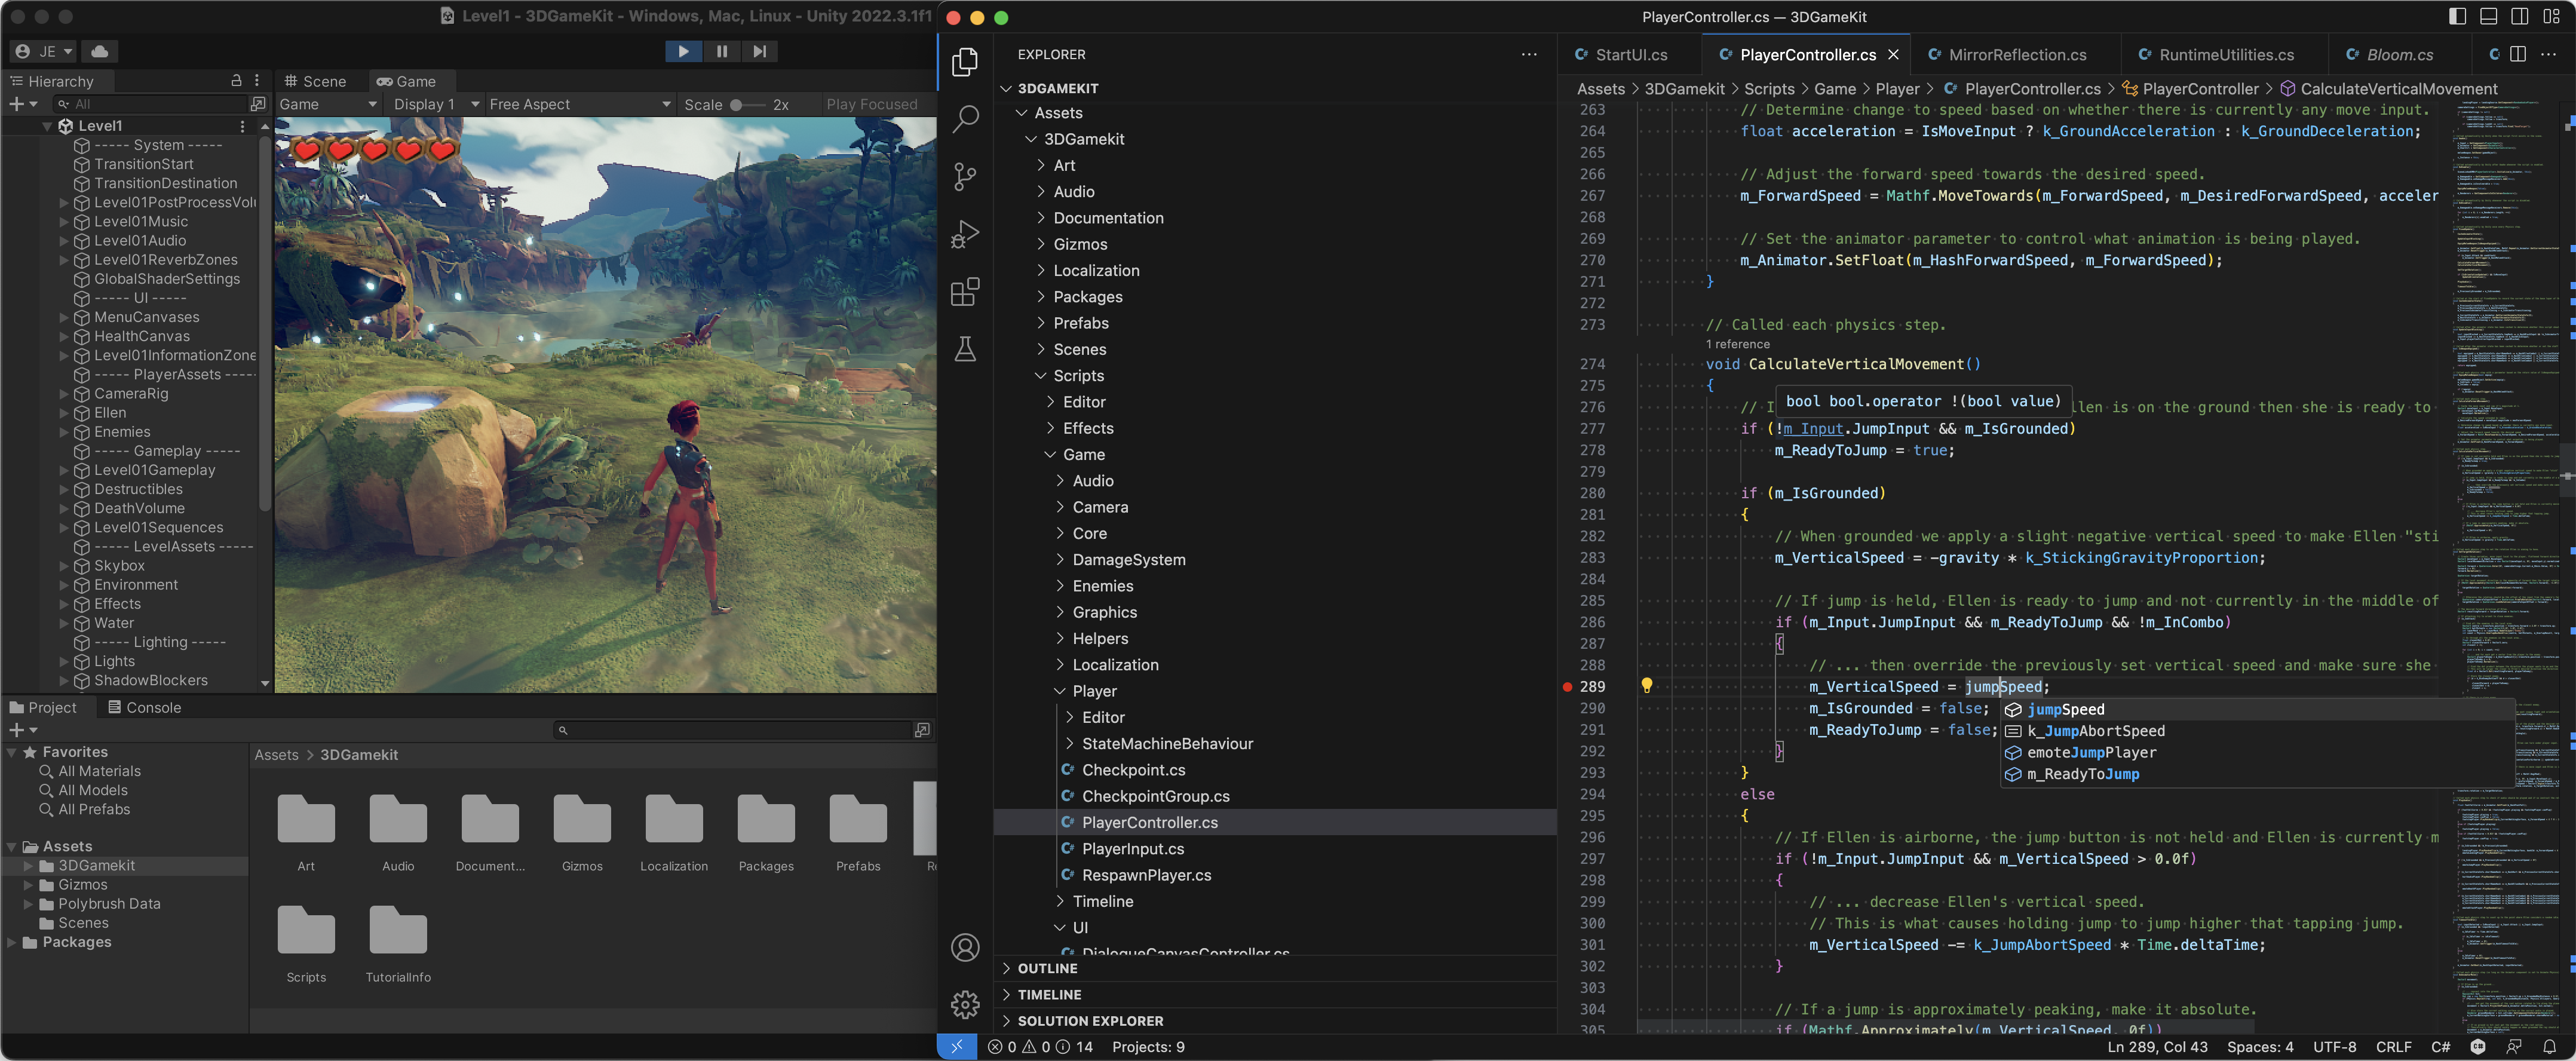
You are now ready to start editing with Visual Studio Code. Double-clicking on a C# script in Unity will open Visual Studio Code. Here is a list of some of the things you can expect:
- Syntax Highlighting
- Bracket matching
- IntelliSense
- Snippets
- CodeLens
- Peek
- Go-to Definition
- Code Actions/Lightbulbs
- Go to symbol
- Hover
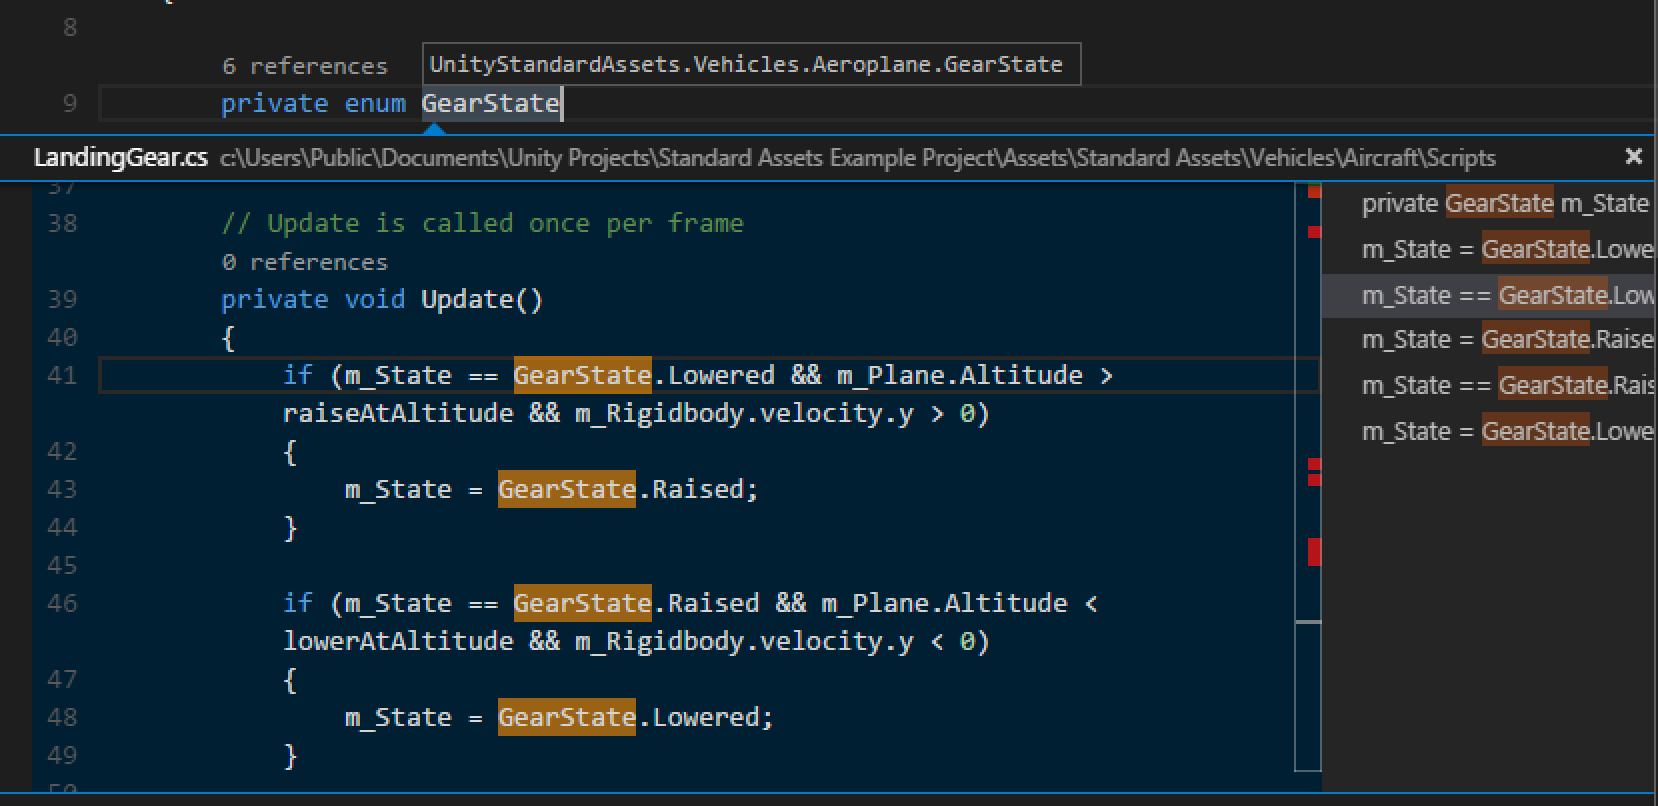
Two topics that will help you are Basic Editing and C#. In the image below, you can see VS Code showing hover context, peeking references, and more.
Debugging
By default, your Unity project is setup with a debugger configuration to attach the Unity debugger to the Unity Editor instance opened on the project. Press F5 to start a debugging session.
If you want to debug a Unity standalone player, the easiest way is to use the Attach Unity Debugger command.
Alternatively, you can modify the .vscode/launch.json file in your project and add a new debugger configuration for an IP endpoint you control:
{
  "name": "Attach to Xbox",
  "type": "vstuc",
  "request": "attach",
  "endPoint": "127.0.0.1:56321"
}
Next steps
Read on to learn more about:
- Basic Editing - Learn about the powerful Visual Studio Code editor.
- Code Navigation - Move quickly through your source code.
- C# - Learn about the C# support in Visual Studio Code.