Java Web Apps with Visual Studio Code
This tutorial shows you how to create a Java web application with Visual Studio Code. You'll learn how to deploy a Java web application to a Linux Tomcat server in Azure App Service.
Scenario
A simple Hello World web app.

Before you begin
Before running and deploying this sample, you must have the Java SE Development Kit (JDK) and Apache Maven build tools on your local development environment. If you don't have, please install them.
Download and install the Extension Pack for Java, which has JDK 11 included.
Note: The
JAVA_HOMEenvironment variable must be set to the install location of the JDK to complete this tutorial.
Download Apache Maven version 3 or greater:
Install Apache Maven for your local development environment:
Create a Maven Web App project
maven-archetype-webapp is an archetype which generates a Maven Web App project. To learn more, you can visit this documentation.
- In an empty folder, run the following command to generate a new project from a Maven archetype.
mvn archetype:generate -DarchetypeGroupId=org.apache.maven.archetypes -DarchetypeArtifactId=maven-archetype-webapp -DarchetypeVersion=1.4
-
Maven asks you for values needed to finish generating the project on deployment. Provide the following values when prompted:
Prompt Value Description groupId com.webappprojectA value that uniquely identifies your project across all projects, following the package naming rules for Java. artifactId webapp-projectA value that is the name of the jar, without a version number. version 1.0-SNAPSHOTChoose the default value. package com.webappprojectA value that is the Java package for the generated function code. Use the default. -
Type
Yor press Enter to confirm.Maven creates the project files in a new folder with a name of artifactId, which in this example is
webapp-project. -
Navigate into the project folder:
cd webapp-project
Deploy Web Apps to the cloud
We just built a Java web application and ran it locally. Now you will learn how to deploy from Visual Studio Code and run it on Azure in the cloud.
If you don't have an Azure subscription, you can sign up for a free Azure account.
Create your free Azure account
Install the Azure App Service extension
The Azure App Service extension is used to create, manage, and deploy to Azure App Service with key features including:
- Create new Azure Web App/Deployment Slot
- Deploy to Azure Web App/Deployment Slot
- Start, stop, and restart the Azure Web App/Deployment Slot
- View a Web App's log files
- Swap Deployment Slots
To install the Azure App Service extension, open the Extensions view (⇧⌘X (Windows, Linux Ctrl+Shift+X)) and search for azure app service to filter the results. Select the Microsoft Azure App Service extension. For a more command-line Maven-centric experience, you can also check out the Maven plugin for Azure App Service Linux tutorial.
Sign in to your Azure subscription
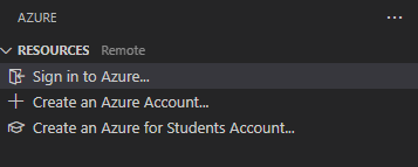
To sign in to Azure, run Azure: Sign In from the Command Palette (⇧⌘P (Windows, Linux Ctrl+Shift+P)). Or you can sign in to your Azure Account by clicking Sign in to Azure... in RESOURCES Explorer.
Create a new Web App on Azure
Once the extension is installed, you can take the following steps to create a new Web App on Azure.
-
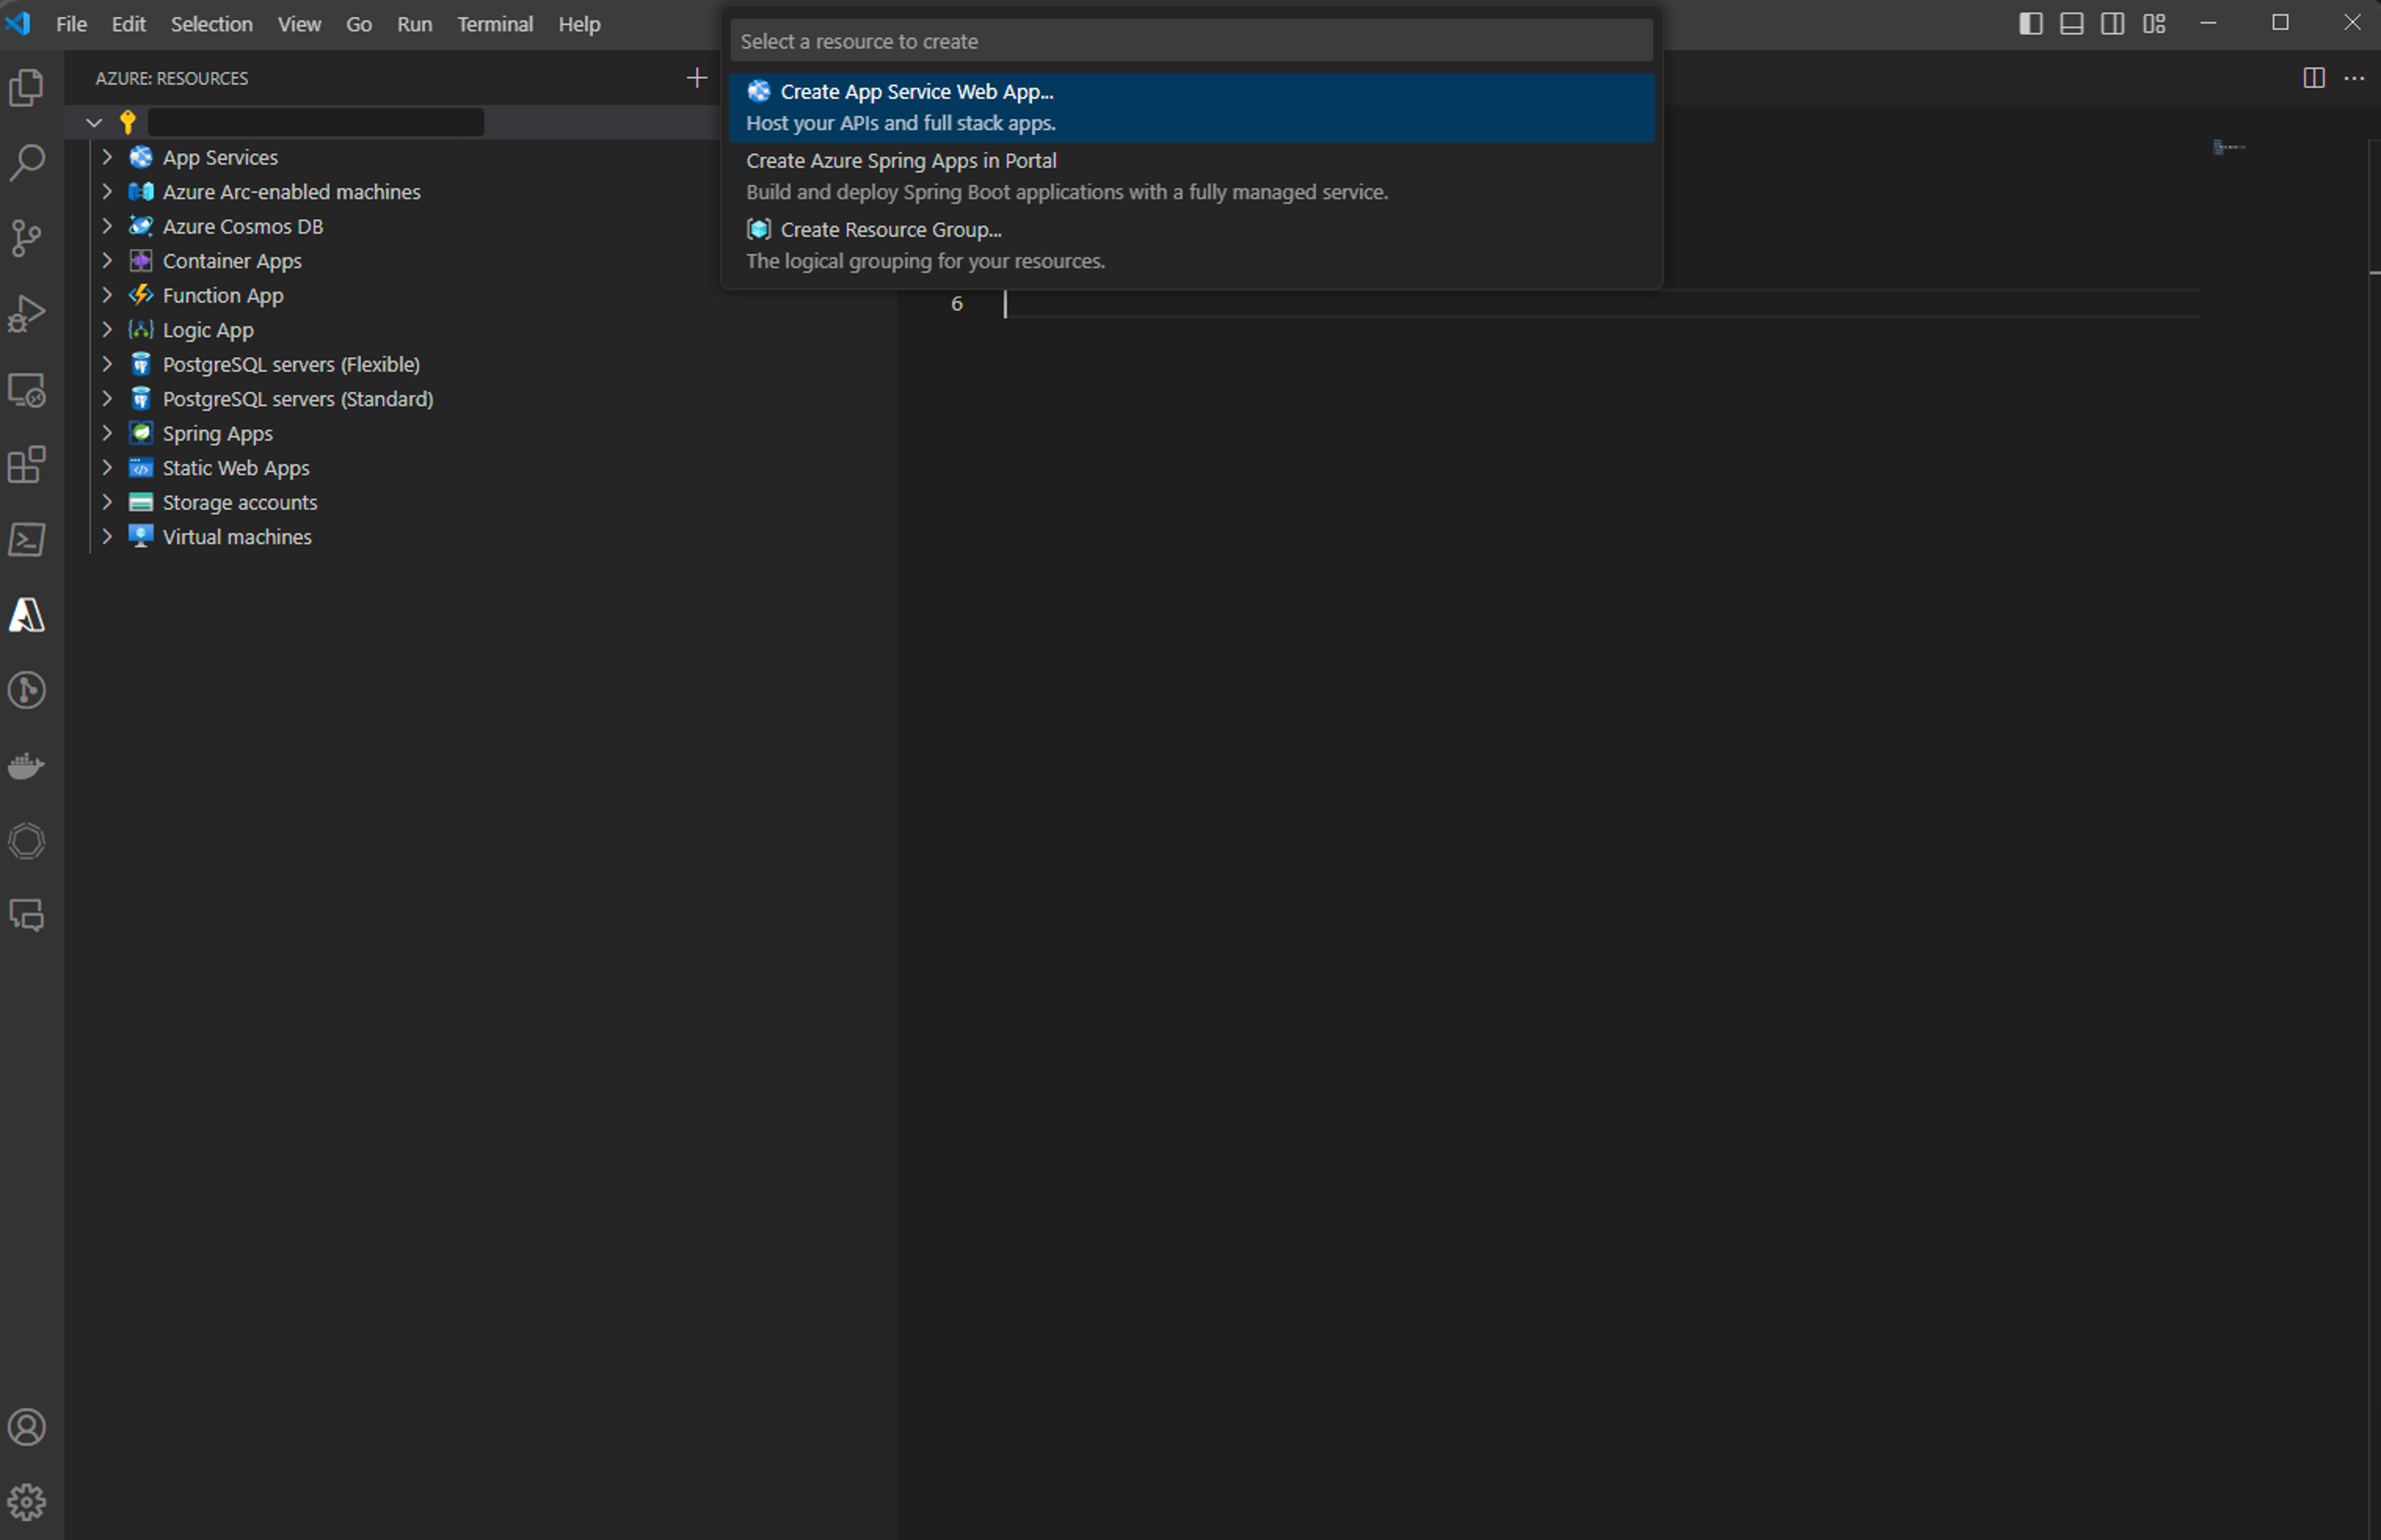
Click Create button on the RESOURCES Explorer view and select Create App Service Web App....
-
Enter a unique name for the new Web App.
-
Select the runtime task of the Web App, for example
Java 17. -
Select the Java web server stack, for example
Apache Tomcat 10.0. -
Select a pricing tier, for example
Free(F1).
Build and deploy to a Web App
The deploy process leverages the Azure Resources extension (installed along with the Azure App Service extension as a dependency) and you need to sign in with your Azure subscription. If you do not have an Azure subscription, sign up today for a free 30 day account and get $200 in Azure Credits to try out any combination of Azure services.
Once you have signed in, you can open the command prompt or terminal window and build the project using Maven commands. This will generate a new war or jar artifact in the target directory.
mvn clean package
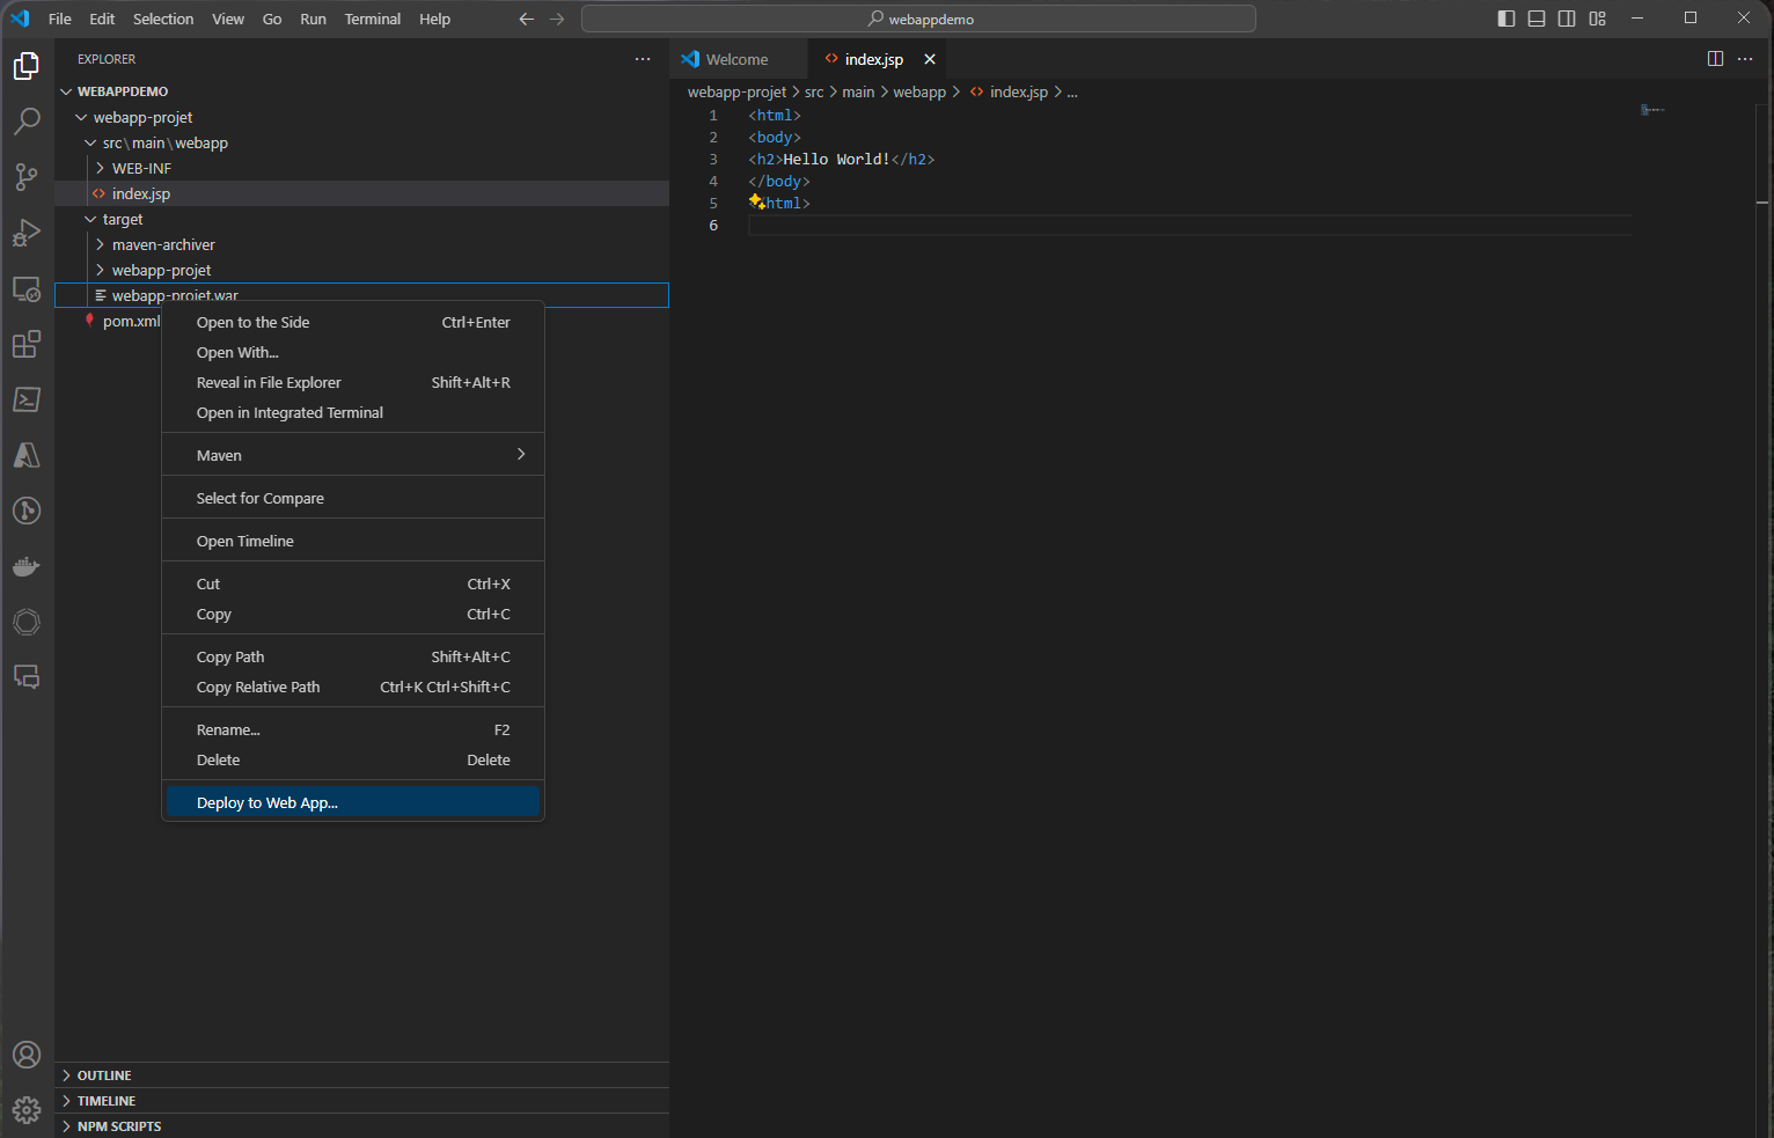
After building the project, open the target directory in VS Code Explorer. Right-click on the artifact and choose Deploy to Web App, and follow the prompts to choose the Web App for your deployment.
Open the Output window in VS Code to view the deployment logs. Once the deployment is completed, it will print out the URL for your Web App. Click the link to open it in a browser, you can see the web app running on Azure!
Note: For more advanced features of App Service, you can check out the Azure App Service extension.
Clean up resources
-
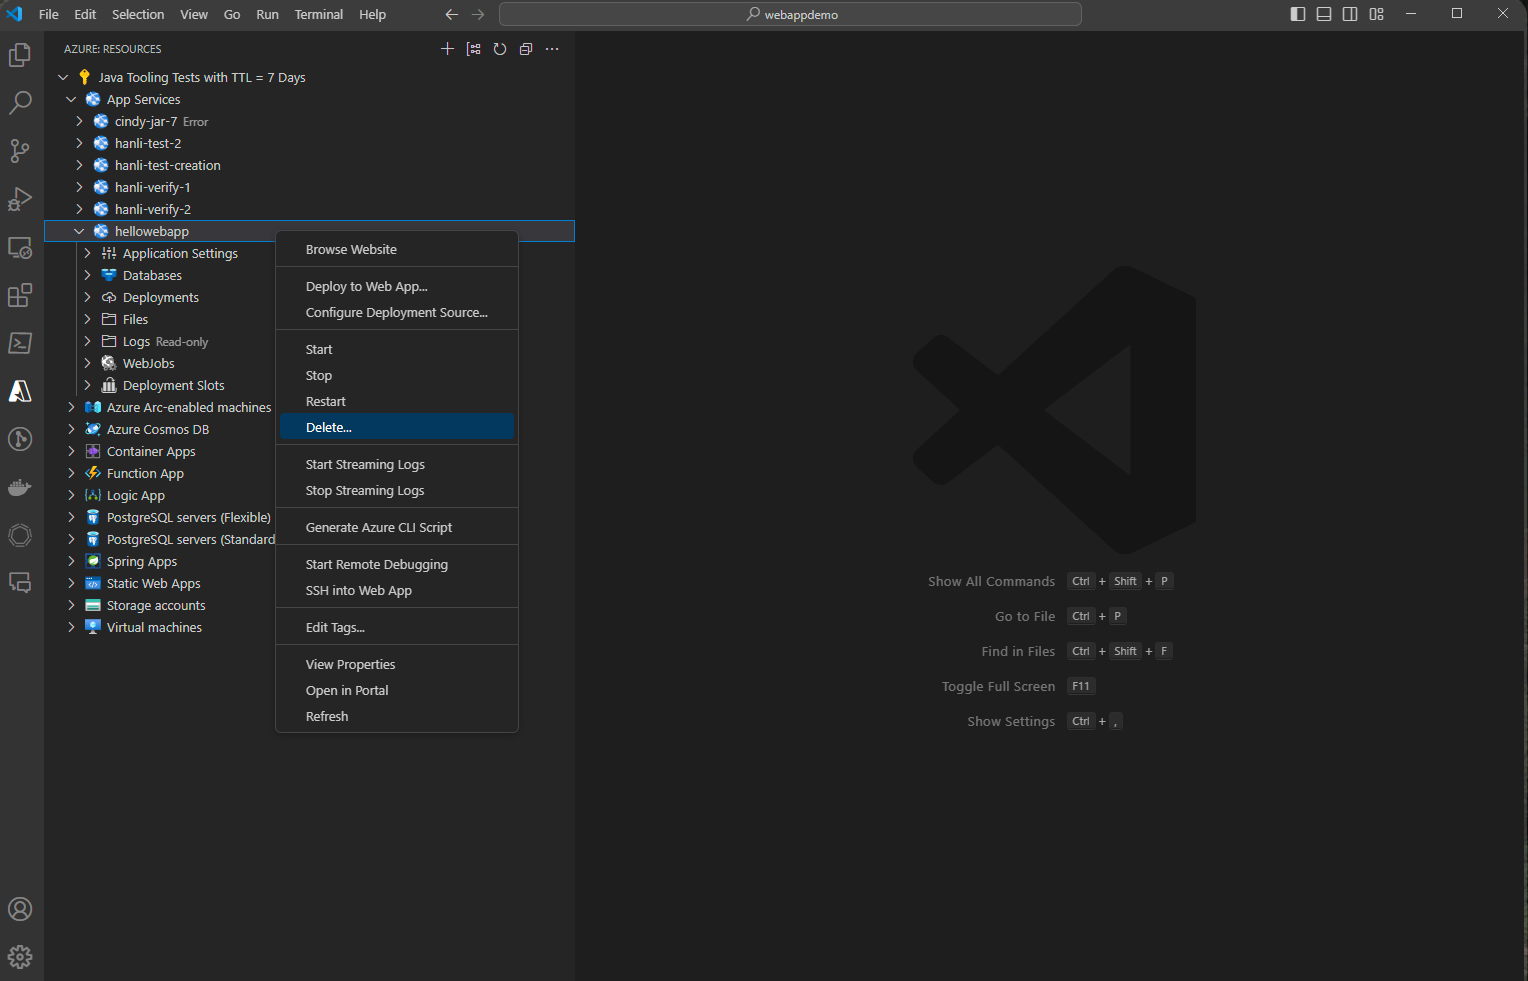
To delete your web app, navigate to the RESOURCES Explorer and locate the App Services item.
-
Right-click the web app you'd like to delete and click Delete.
- To delete your app service plan or resource group, visit the Azure portal and manually delete the resources under your subscription.
Next steps
- To containerize and deploy a web application, check out the Docker in VS Code.
- To learn more about Java Debugging features, see the Java Debugging Tutorial.