Build with agents in VS Code
Agentic coding uses AI agents to complete software development tasks with varying levels of autonomy. Give an agent a high-level goal, and it can gather context, plan the work, edit files, run commands, and iterate on the result. You guide the agent, review its actions, and decide which changes to commit or integrate.
This article introduces the agentic coding capabilities in Visual Studio Code and the key components that work together. Follow the links to explore each concept in depth, or get hands-on with the agents quickstart or agents tutorial.
Choose the right AI experience
Start with the experience that matches the scope of your task. You can move to an agent when the work requires more autonomy or spans multiple steps.
| Your goal | Use |
|---|---|
| Get code suggestions as you type | Inline suggestions |
| Get answers, explore a codebase, or brainstorm an approach | Chat |
| Make a focused edit in the editor or terminal | Inline chat |
| Run a built-in, task-specific action | Smart actions |
| Implement or validate a multi-step change across files | The Agent role |
| Research a complex change and review the approach before implementation | The Plan role |
Choose a starting configuration
For your first local agent task, open your project in the Chat view and use the following configuration. These selections keep the agent beside your code and let you review its actions while you learn the workflow.
| Control | Start with | Choose another option when |
|---|---|---|
| Interface | Use the Chat view when your project is already open. | Use the Agents window (Preview) to manage work across projects or run multiple sessions. |
| Session Target | Use Copilot for a general coding task. | Use Claude, Codex, or Cloud for provider-specific or remote workflows. |
| Agent | Use Agent to implement a task. | Use Plan to review an approach before implementation. |
| Language model | Use Auto when it is available. | Select a model when you need specific speed, reasoning, context-window, or cost characteristics. |
| Permissions | With the Copilot target, use Manual permissions so actions that aren't covered by your approval settings require confirmation. | Other targets provide their own permission options. Use Assisted permissions or Allow all only after you understand the security implications. |
| Code isolation | The Chat view uses your current workspace. In the Agents window, use Folder when the agent needs current or uncommitted files. | Use New Worktree to keep changes separate from your active workspace. Worktree sessions use Allow all, and a worktree isn't a security boundary. |
You don't need to configure other options for your first task. Follow the agents quickstart to build and validate a small app.
Learn more about choosing a session target, permissions, and code isolation.
What you can do with agents
Agents combine language-model reasoning with tools that act on your development environment. This makes them useful for tasks that involve multiple steps or files, such as:
- Planning and implementing features across multiple files.
- Exploring, refactoring, or migrating a codebase.
- Diagnosing errors, running tests, and applying fixes.
- Running and validating web apps with browser tools.
- Working on independent tasks in parallel or in the background.
Agents are the most autonomous of several AI experiences in VS Code. For lighter-weight help, you can also use chat, inline chat, inline suggestions, and smart actions.
Ways to work with agents
Agent sessions are available through several interfaces in VS Code, the terminal, and the browser. Each interface presents the session in the environment where you are working.
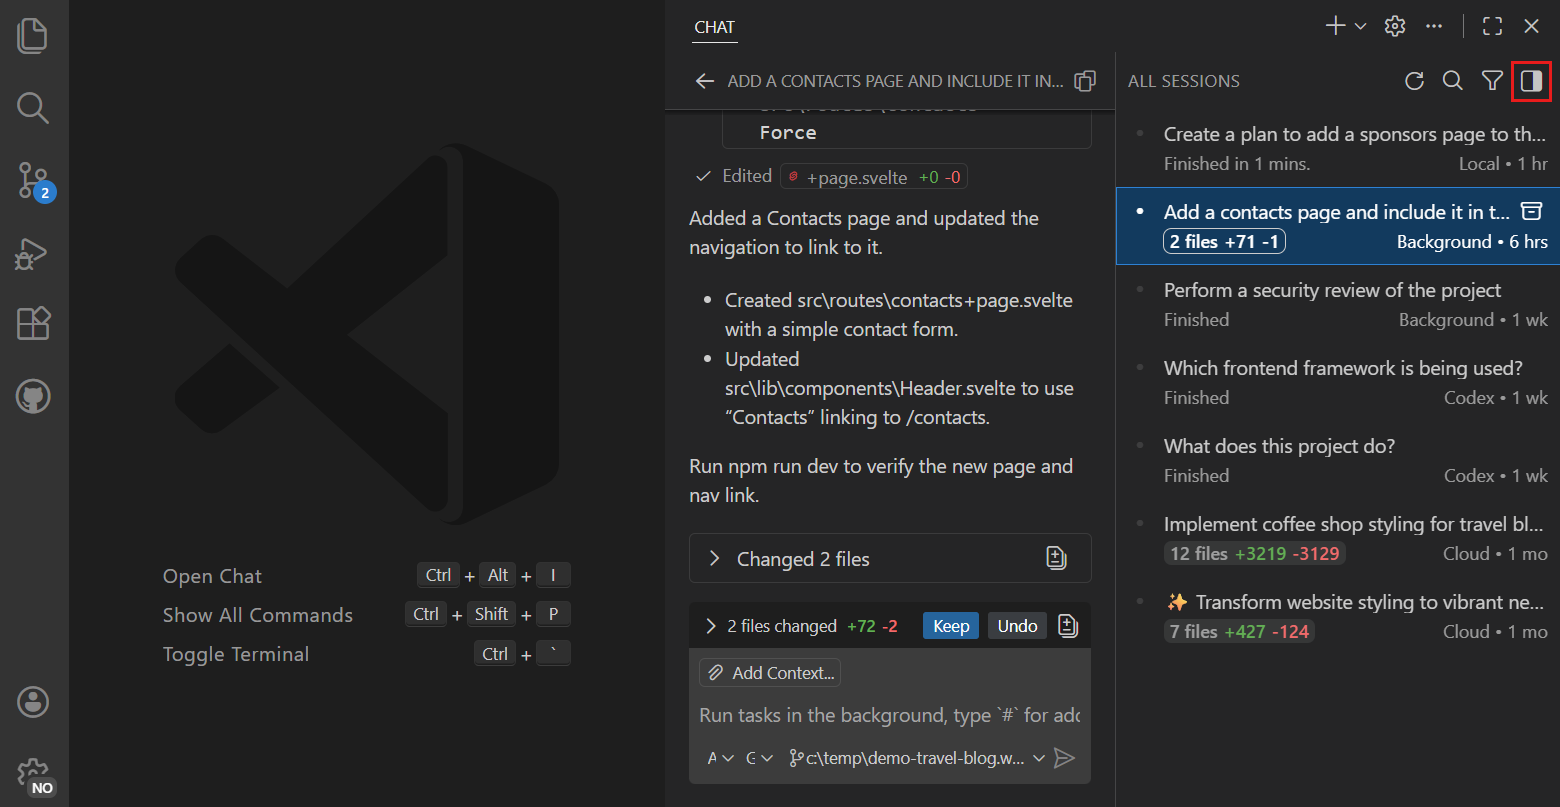
The Chat view is a code-first interface for working with an agent alongside the editors in your current workspace.
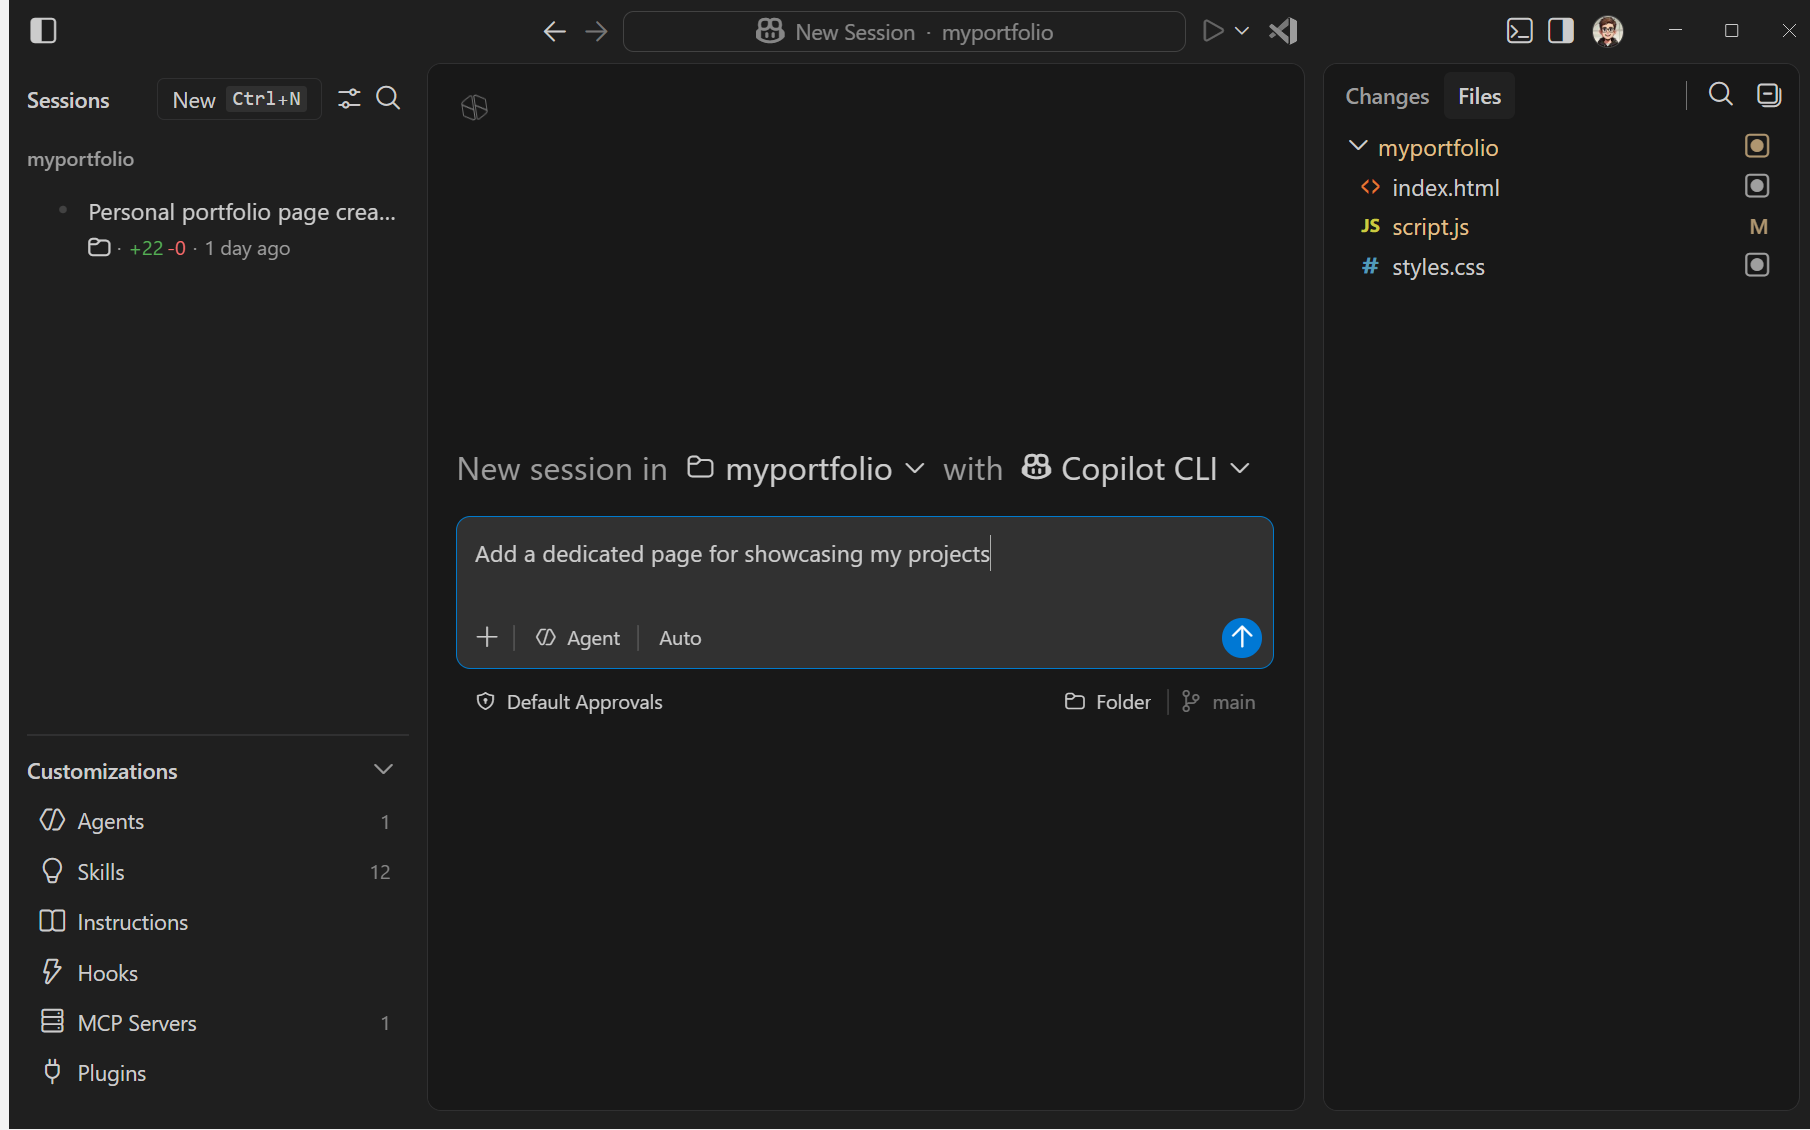
The Agents window (Preview) is a dedicated, agent-first interface for assigning high-level tasks and managing multiple sessions across workspaces.
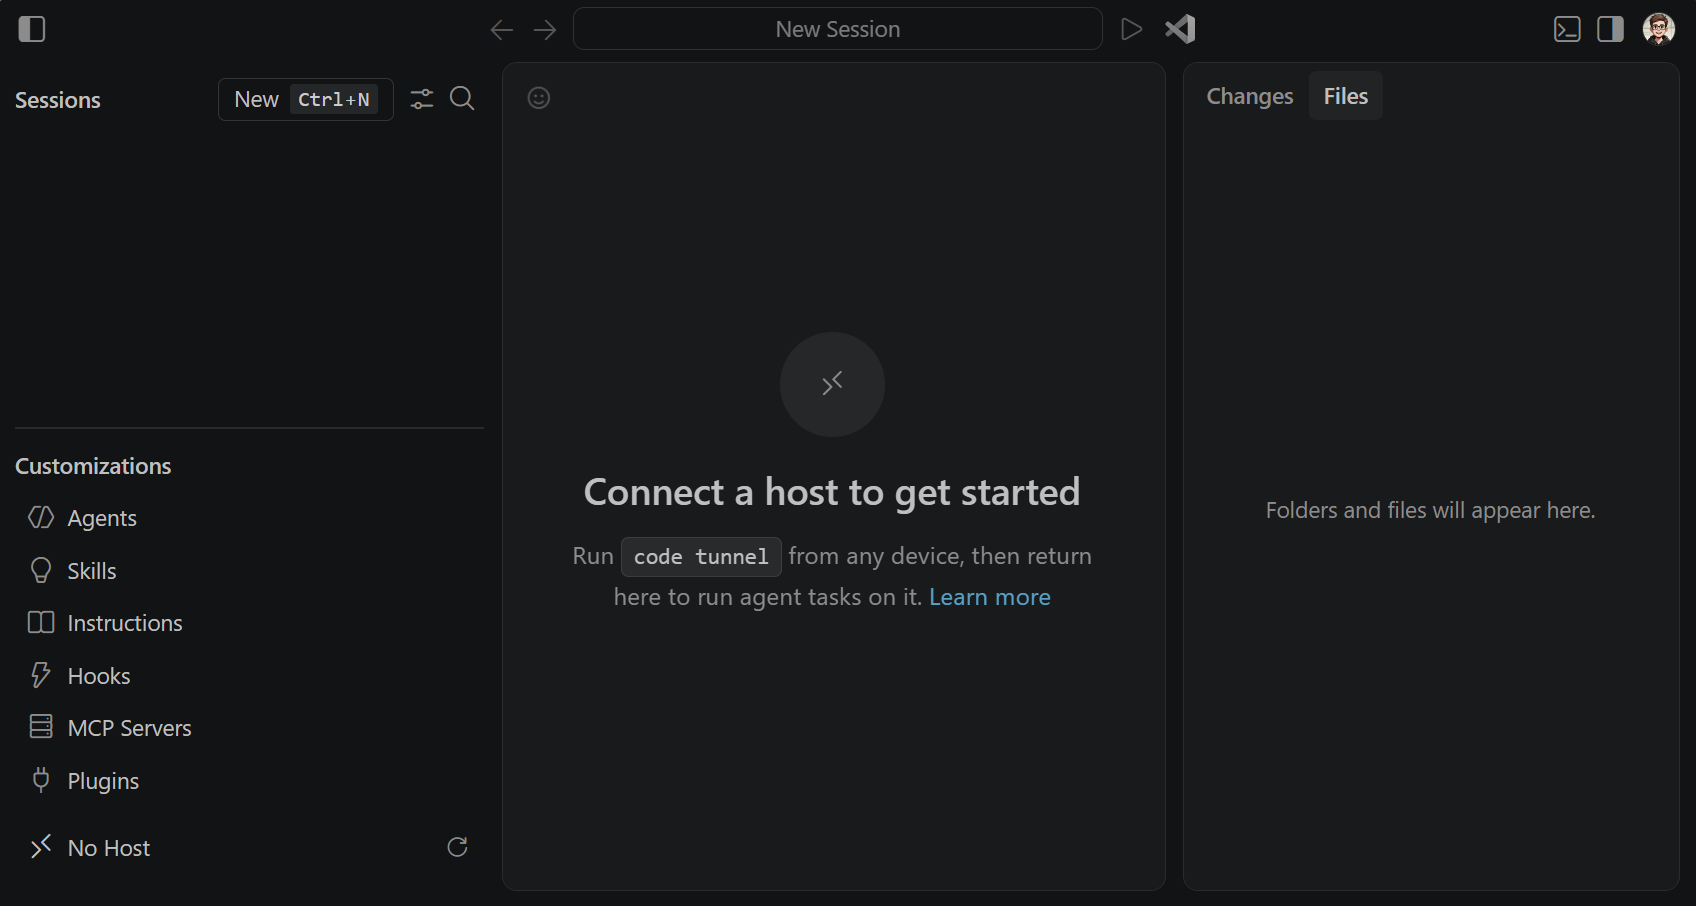
From GitHub, assign issues to cloud agents, track progress, and review the resulting pull requests. Use vscode.dev/agents to connect to agents on your development machine from a browser.
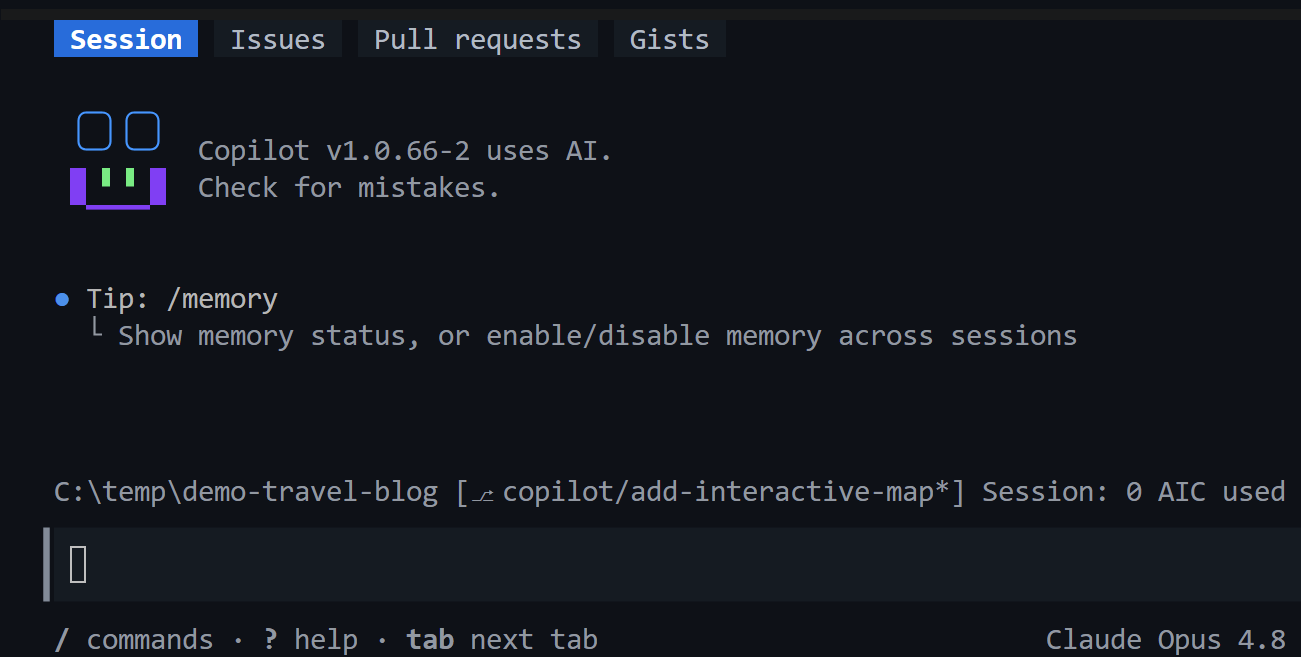
Use GitHub Copilot CLI to work with an agent from the integrated terminal or an external terminal.
Use the GitHub Copilot app to manage AI coding tasks in a dedicated desktop experience outside VS Code.
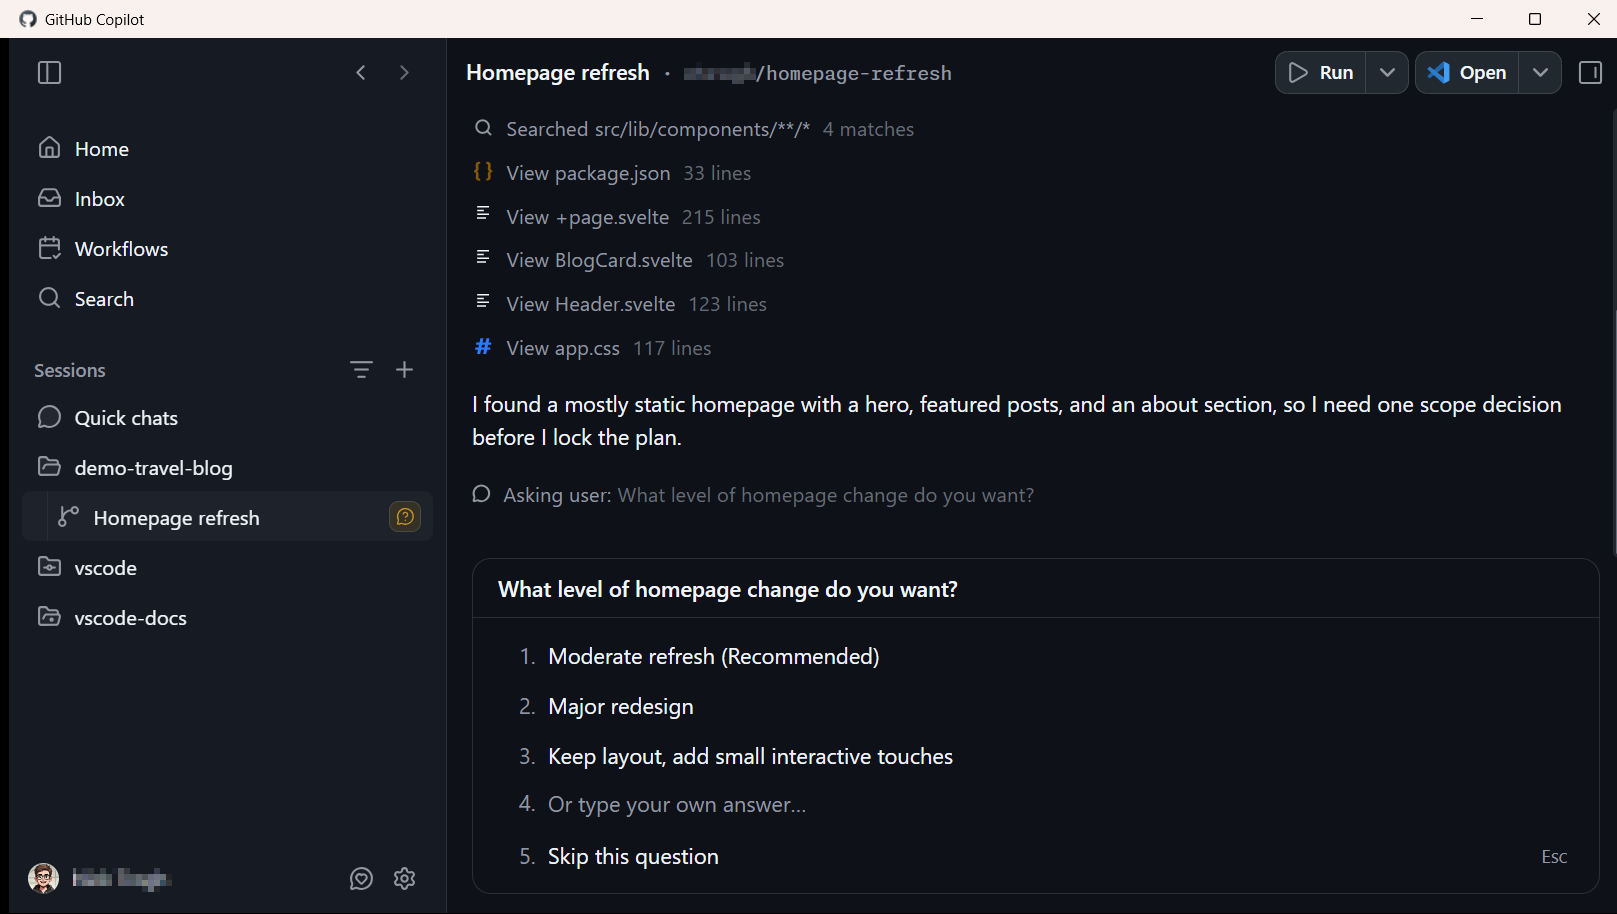
Access and continue sessions across interfaces and devices
Agent sessions aren't tied to a single interface. You can switch between the Agents window and the Chat view, or connect from a browser on another device through a dev tunnel.
You can also use the Agents window to start or manage sessions on another machine over SSH or a dev tunnel. Learn more about remote agent sessions.
VS Code can also discover supported sessions created by other interfaces and harnesses, including Copilot CLI, Claude Code, and Codex. Learn more about managing and handing off sessions.
Where and how agents run
The agent harness determines which provider-specific capabilities and tools are available. VS Code supports the built-in Local harness and provider-specific harnesses such as Copilot, Claude, and Codex. You can also choose from supported language models or bring your own model, including a model that runs locally.
The execution environment determines where the agent runs tools and changes code:
- Your machine: work directly in a folder or use a Git worktree to isolate changes.
- Cloud infrastructure: work on a GitHub repository in the background and return the result as a pull request.
- A remote machine: run the agent next to code and tools on a remote host.
Tool execution and model hosting are separate. For example, an agent can run tools on your machine while sending model requests to a hosted provider. To keep model processing local too, configure a supported local model.
Choose a harness and execution environment when you start a session. You can hand off the session when another target is a better fit for the next part of the task. Learn more about agent harnesses and execution environments.
How agentic coding works
Agentic coding relies on three concepts:
- Agent loop: the agent uses a language model to reason over context and call tools. It repeats this loop until it completes the task, needs your input, or you stop it.
- Session: a session holds the conversation, workspace, changes, and execution state for a task so that you can pause, resume, and hand off the work.
- Harness and execution environment: the agent harness coordinates the agent loop. The execution environment determines where tools run and where the agent changes code.
You can further shape the agent with customizations.
Stay in control
Agents can read and edit files, run terminal commands, and call external services. Set a permission level to control which tool calls require your approval. Use agent sandboxing when you need operating system-level file system and network restrictions. Review generated code and validate the result before you commit or integrate the changes. Learn more about trust and safety controls.
Organizations can centrally control which AI features, models, and tools are available. Administrators can restrict agent capabilities and enforce requirements for their teams. Learn more about enterprise AI policies.
Make sure agents are enabled with chat.agent.enabled . If your organization has disabled agents, contact your GitHub organization administrator.