Get started with Visual Studio Code
Visual Studio Code is a free, open-source code editor for Windows, macOS, and Linux. It brings together multiple ways of working in one tool. Describe a task in natural language and an AI agent plans, edits, and verifies the work. Write code yourself with a powerful editor that has built-in Git, IntelliSense, debugging, and testing tools. Or combine both approaches to get the best of both worlds.
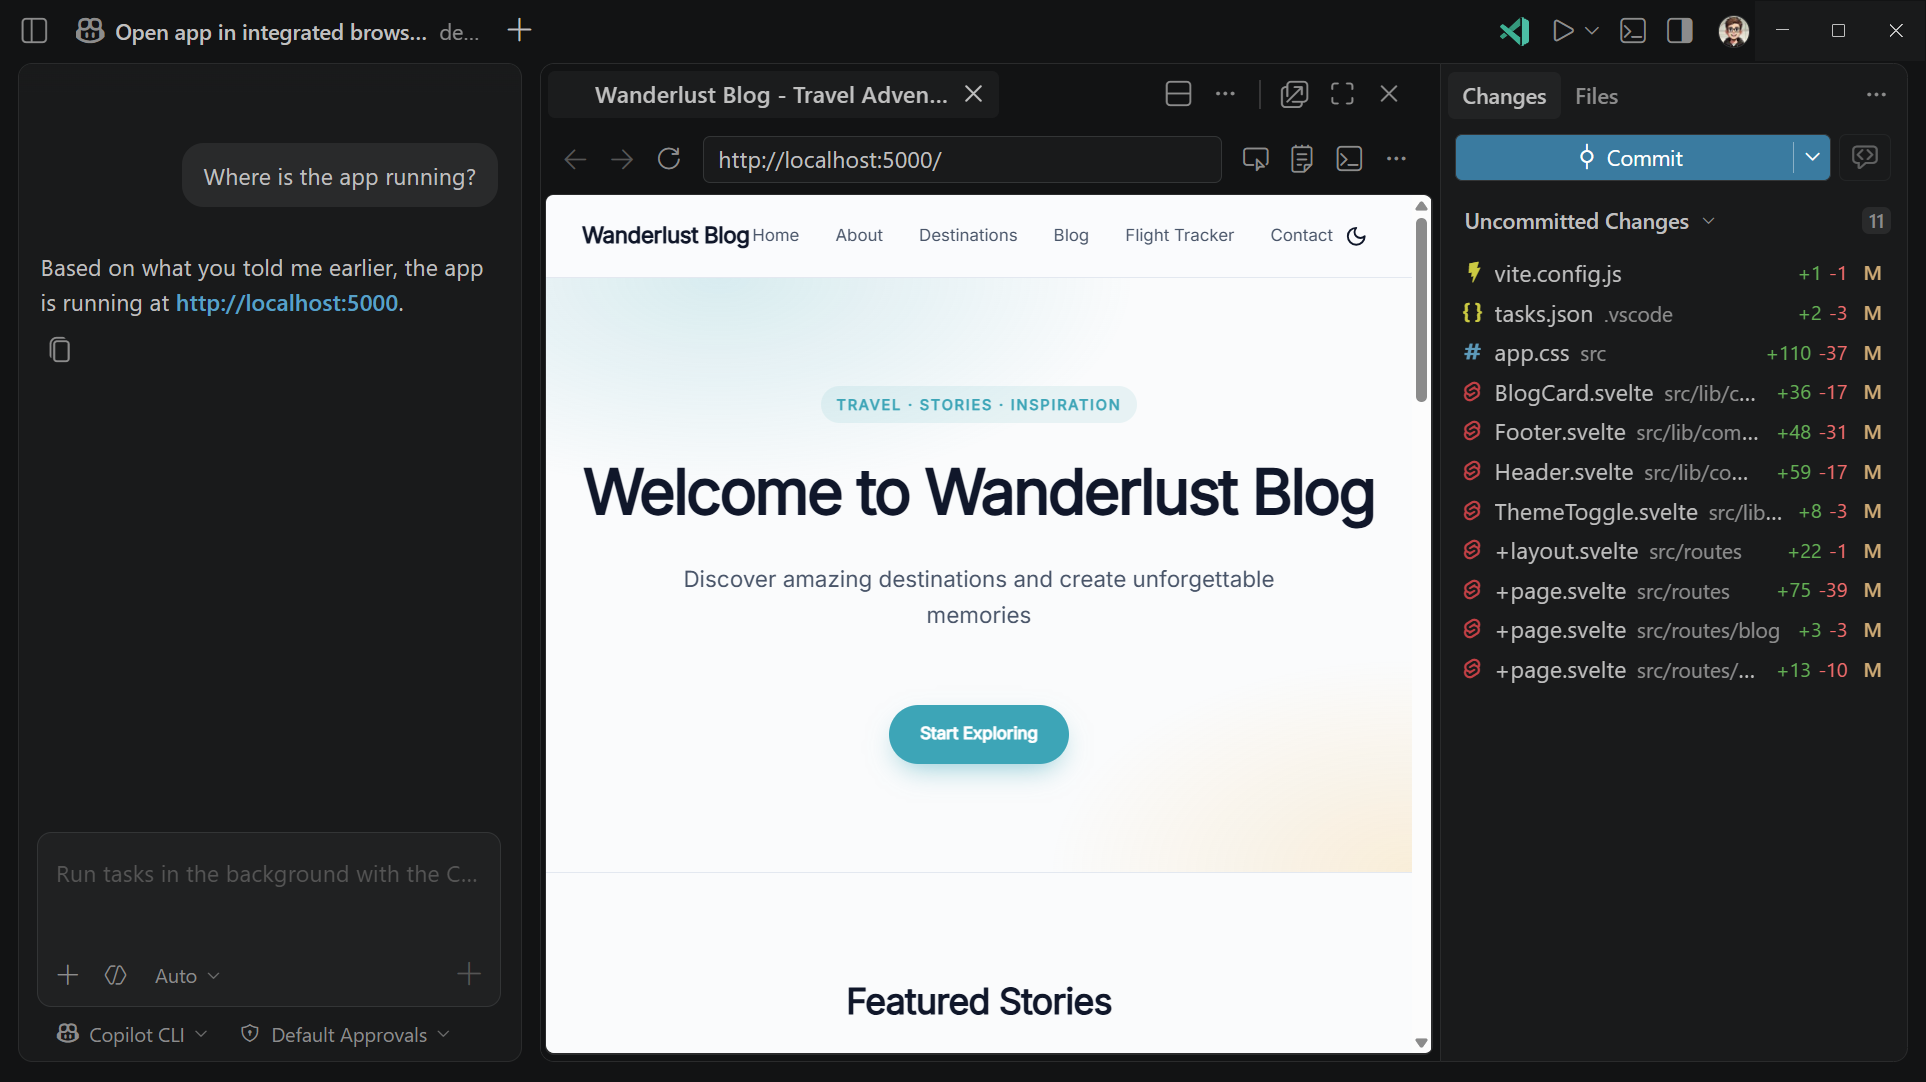
VS Code runs on your desktop or a remote machine, or access it instantly from your browser with VS Code for the Web).
VS Code puts you in control. Choose your language model, whether from your GitHub Copilot subscription or your own API key, and pick the agent that fits the task. Customize VS Code for your technology stack with extensions from the Marketplace, and shape the editor to your workflow with settings, keybindings, and themes.
What you can do with VS Code
VS Code adapts to how you want to work, whether you write every line yourself or hand off tasks to an AI agent. Most workflows combine both.
-
Build with AI agents. Describe what you want in natural language, and an agent plans a solution, edits files across your project, runs commands, and fixes its own errors. Run agents in the Agents window for an agent-first workflow, or in the Chat view while you write code in the editor. Learn more about AI agents in VS Code.
-
Write, test, and debug code. Edit with IntelliSense, refactoring, and multi-cursor support, then find and fix problems with the built-in debugger and testing tools. Track your work with integrated source control, and add language support for the stack you use.
-
Extend and customize. Install extensions and MCP servers to add languages, tools, and data sources. Tailor the agent experience to your specific project needs with custom instructions, custom agents, and your choice of language model.
Get started in three steps
New to VS Code? These three steps take you from a fresh install to building your first app with an AI agent.
-
Install VS Code. Download the installer for your platform and follow the install steps below.
-
Enable AI features. Sign in to unlock inline suggestions and AI agents. See Enable AI features.
-
Take the tutorial. Build an app with the agentic coding tutorial or learn the basics of writing code in VS Code.
Install VS Code
Download the installer for your platform and follow the steps below. VS Code is lightweight and runs on most available hardware. Review the system requirements for details.
VS Code ships weekly Stable releases with auto-update. To preview upcoming features, install the Insiders build, which ships nightly and runs side by side with Stable.
- Download the User Setup installer (
.exe). - Run the installer and follow the prompts.
- VS Code is ready to use. The installer adds
codeto your PATH so you can open a folder from the terminal withcode ..
For System Setup, ZIP archive, or other options, see the full Windows setup guide.
- Download the
.dmginstaller. - Open the
.dmgfile and drag Visual Studio Code.app to the Applications folder. - Open VS Code from the Applications folder or Spotlight.
To use the code command in the terminal, open the Command Palette (⇧⌘P (Windows, Linux Ctrl+Shift+P)) and run Shell Command: Install 'code' command in PATH. For more options, see the full macOS setup guide.
Choose your distribution below for installation instructions. Installing the package sets up the apt or dnf repository for automatic updates. For Snap, Arch, Nix, and other options, see the full Linux setup guide.
-
Debian / Ubuntu
- Download the
.debpackage from the VS Code download page - Install it with
sudo apt install ./<file>.deb
- Download the
-
Fedora / RHEL
- Download the
.rpmpackage from the VS Code download page - Install it with
sudo dnf install ./<file>.rpm
- Download the
Enable AI features
VS Code has built-in support for AI features like inline suggestions and AI agents that help you with coding tasks. You can get started with AI features by signing in to GitHub and use your GitHub Copilot subscription to get access to a variety of large language models and other AI features in VS Code.
Follow these steps to get started with Copilot in VS Code:
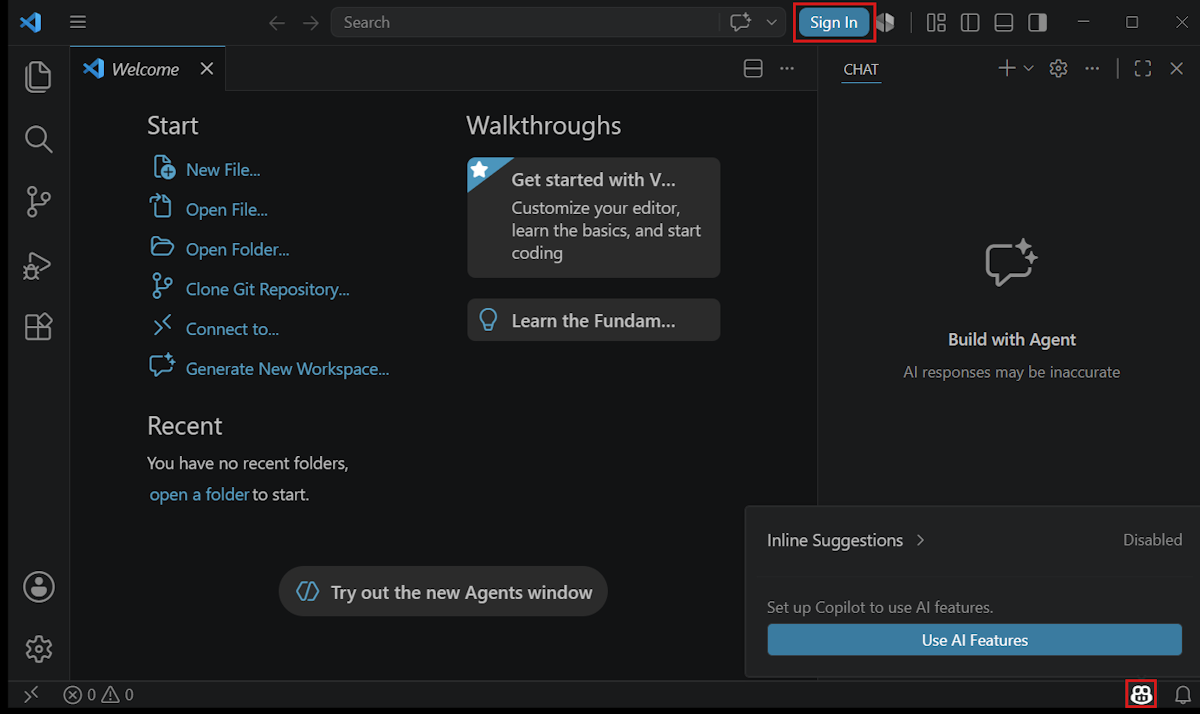
-
Select Sign In from the VS Code title bar or hover over the Copilot icon in the Status Bar and select Enable AI features.
-
Choose a sign-in method and follow the prompts.
-
If you already have a Copilot subscription for your account, VS Code will use that subscription.
-
If you don't have a Copilot subscription yet, you'll be signed up for the Copilot Free plan and get a monthly allowance of inline suggestions and AI credits.
-
-
Start using Copilot in VS Code!
You can also use AI features in VS Code without using a Copilot subscription by bringing your own language model API key. Learn more about using language models in VS Code.
Explore VS Code
Pick a path based on what you want to do next.
Agentic coding
Build an app from a prompt in our hands-on tutorial.
Editing and debugging
Learn the editor, debugging, and productivity basics.
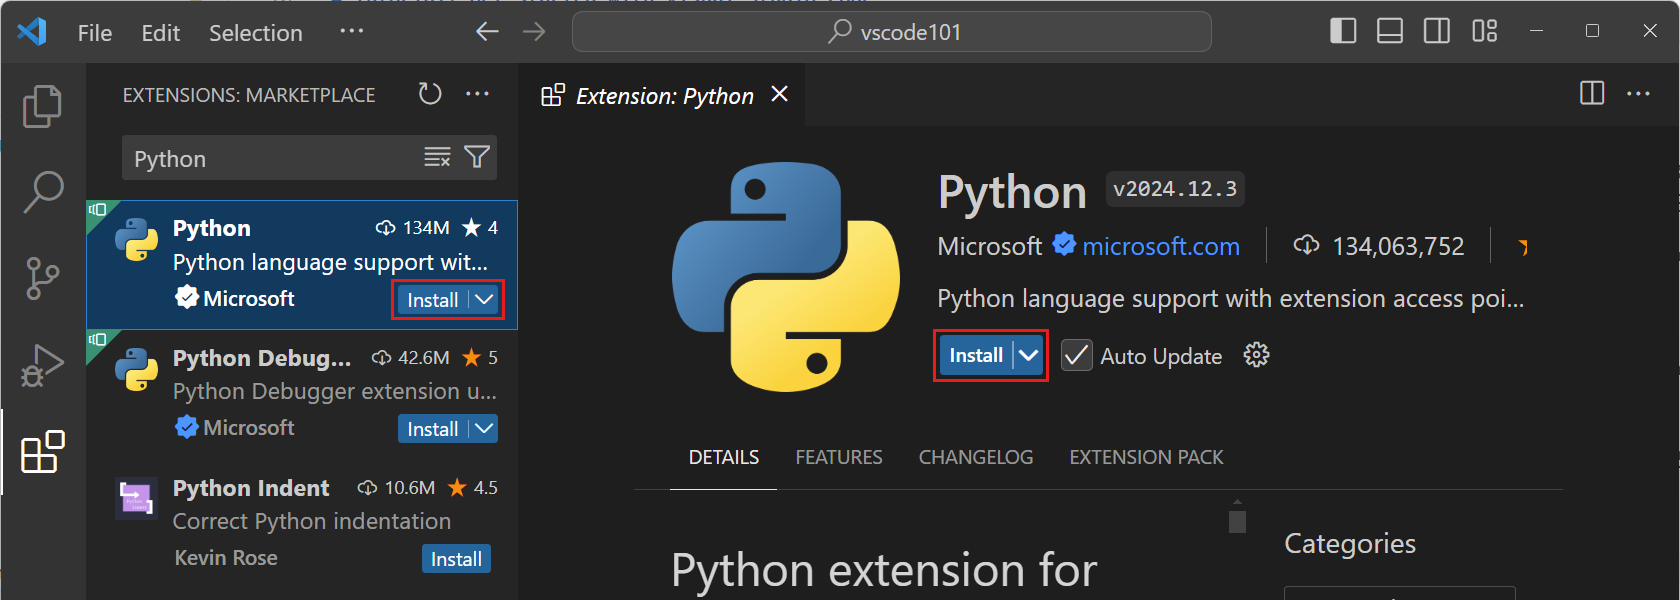
Languages
Set up support for Python, JavaScript, C++, and more.
Extensions and MCP
Add tools, languages, and data sources to VS Code.
Customize AI
Custom instructions, custom agents, and language models.
Source control
Track changes and collaborate with built-in Git support.
Remote and web
Work in containers, WSL, SSH, or the browser.
Common questions
What are the system requirements for VS Code?
Review the system requirements for supported platforms and hardware.
How big is VS Code?
VS Code is a small download, less than 200 MB, and has a disk footprint of less than 500 MB.
How do I create and run a new project?
VS Code doesn't include a traditional File > New Project dialog or preinstalled project templates. Add additional components and scaffolders based on your development workflow. Scaffolding tools like Yeoman and packages from the npm package manager provide templates and tools to create projects.
How do I know which version I'm running?
On Linux and Windows, choose Help > About. On macOS, use Code > About Visual Studio Code. The About dialog shows the version number and the commit ID. For Insiders builds, multiple builds can share the same version number, so use the commit ID to uniquely identify your build.
Why is VS Code saying my installation is unsupported?
VS Code has detected that some installation files have been modified, perhaps by an extension. Reinstalling VS Code will replace the affected files. See our FAQ topic for more details.
How can I do a 'clean' uninstall of VS Code?
To remove all user data after uninstalling VS Code, delete the user data folders Code and .vscode. This returns VS Code to the state before installation and can reset all settings without uninstalling VS Code.
The folder locations vary depending on your platform:
- Windows - Delete
%APPDATA%\Codeand%USERPROFILE%\.vscode. - macOS - Delete
$HOME/Library/Application Support/Codeand~/.vscode. - Linux - Delete
$HOME/.config/Codeand~/.vscode.