Inspecting Containers with VS Code
October 31, 2019 by Bowden Kelly, @bowdenk7
When developing containerized applications, it is common to try to debug build and runtime issues by attaching a shell to the running container using docker exec --it {containerID} /bin/sh.
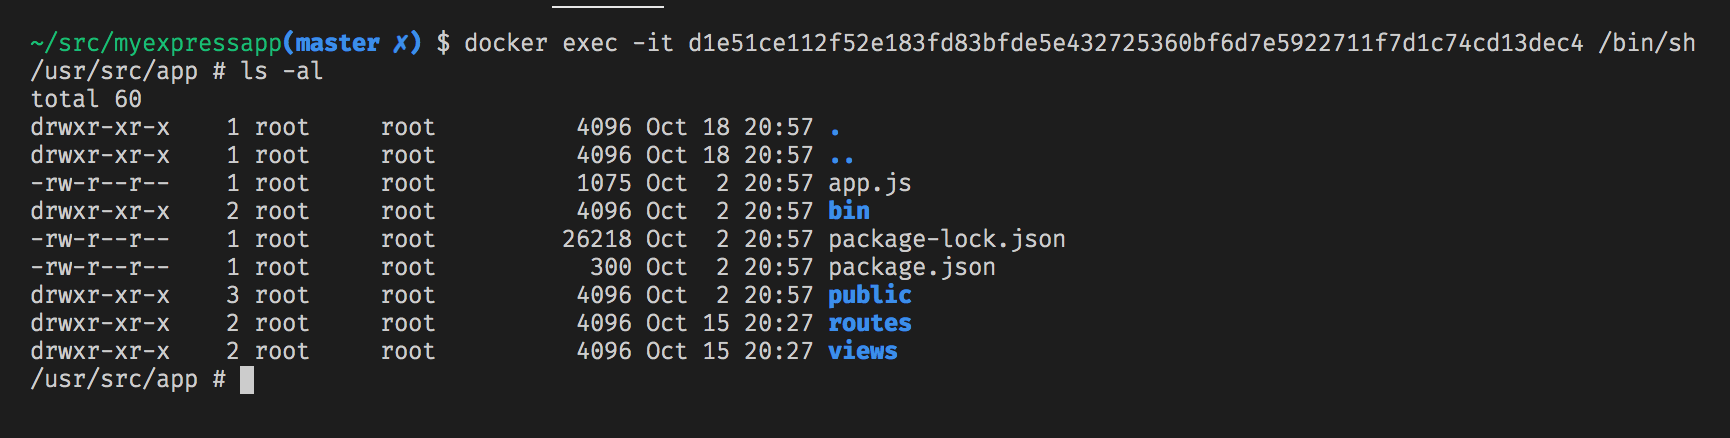
This technique allows you to inspect the container environment via the command line, but it doesn't give you a rich set of tools to diagnose issues.
In this post, we'll look at how you can attach Visual Studio Code to your container so that you can use the full power of VS Code, including debugging, to inspect the container, figure out what is going wrong, and fix it.
The Dev Containers extension, which launched in May of this year, allows you to connect your local VS Code to a container host while maintaining all of your personalized settings, themes, and key bindings.
Prerequisites
This blog post presumes you have Docker Desktop and Visual Studio Code installed. You will also need the Dev Containers extension. To install the Dev Containers extension, open the Extensions view (⇧⌘X (Windows, Linux Ctrl+Shift+X)), search for "Dev Containers", select Install, and restart VS Code if prompted.
The application
The first thing we need is an application that we can run in a container. If you've got one, great! You can skip this step. If not, you can clone this simple Node.js Express application.
Note: You do not need Node.js installed locally, we will run this application in the container!
git clone https://github.com/microsoft/vscode-express-sample.git
This application has a simple Dockerfile that is based off the Node 10 image, as well as a docker-compose.yml file that we will use to run the image, expose the appropriate ports, and map in the local file system. We are running Node with the –inspect flag so that we can debug the app as we would when running locally. In a real application, you would probably want a separate Docker Compose file for your production deployment.
Note: You don't need a Docker Compose file, you can also attach to containers created with a single Dockerfile.
Build and run
To build and run the application, we'll first install the dependencies and then run docker-compose up from the terminal/command prompt. This will download the Node base image, copy over dependencies, and start the container:
docker-compose up
If everything worked, you should see output like this:

And, you should be able to navigate to http://localhost:3000 and see the following:

Attach to the container
We can now use the Dev Containers extension to attach to our running container, inspect the environment, and debug the application.
Select the Remote Explorer in the Activity Bar to see a list of running containers that you can attach to in the Other Containers section. Find the container we just started, it has the name 'express_server_1', and then attach to it by using the Connect to Container button. That container should now be displayed in the Attached Containers section of the Remote Explorer.

This will launch a new VS Code window (instance) that has the following notification in the bottom right.

During this time, VS Code is installing an instance of the VS Code Server inside the container where your app is running. To see more details and progress about this installation step, you can select the details link that is shown in the notification. Once the VS Code server is installed, your local VS Code client will connect to the remote VS Code server. The result is your local instance of VS Code, with all your settings, themes, and key bindings, is connected to a "back-end" running inside the container alongside your application.

Once the connection is complete, you should have a new VS Code window with a green indicator in the bottom left that shows this instance of VS Code is running in a remote context. If you click on the indicator, you see will see a dropdown of commands relevant to the current remote context.

Let's go ahead and open our app by selecting the Open Folder button and navigating to /usr/src/app. Notice that the Open Folder dialog shows the file system from the running container, not the local file system.

Once you have opened your source folder, you'll notice that a file has been opened in your editor with the file name express-server.json. This name is derived from the container image name that you have attached to. In our example, docker-compose creates the image name 'express_server', which is derived from the folder name express and the service name server defined in the docker-compose.yml file. This file is a configuration file associated with your image that will remember configuration settings when you attach to containers based on this image. If you don't have Auto Save on, you'll need to make sure to save this file. Now in future sessions, VS Code will reopen this source folder when you attach to this image.
Note: You can view this file for the current dev container by running the command Open Container Configuration File from the Command Palette (⇧⌘P (Windows, Linux Ctrl+Shift+P)).

At this point, VS Code looks the same as a normal local VS Code window.

You can do anything that you can do in a normal local VS Code context.
For example, open app.js. Right click on line 8 and execute Find All References to find all usages of usersRouter. Any edits are persisted to the local disk, because we mounted the local file system into the container using the docker-compose file.
Debug inside the container
To further show how similar the dev container is to a local environment, let's attach a debugger. We started our Node app with the –inspect parameter in docker-compose.yaml, so all we have to do is attach a debugger to that process.
In the Command Palette (⇧⌘P (Windows, Linux Ctrl+Shift+P)), search for and select Debug: Attach to Node Process. There will probably be several Node processes running inside the container. We want the process that is running our application, so select the one that shows bin/www.

Next, open index.js and place a breakpoint on line 6 by clicking on the gutter or pressing F9 on:
res.render('index', { title: 'Express' });
Now go to http://localhost:3000 in your browser and see the breakpoint trigger as expected!
Install extensions
Just like a normal instance of VS Code, you can install and use extensions while attached to a dev container.
Depending on the type of extension, it can either run on the client side or in the container on the remote VS Code server. Extensions that are primarily UI-based such as themes and snippets stay on the client side, while all other extensions are installed in the container. This allows you to have only the extensions you need when working in each environment while maintaining a consist UI across all environments.
If you open the Extensions view (⇧⌘X (Windows, Linux Ctrl+Shift+X)), you will see the list of extensions that you have installed locally and extensions you have installed in your current container instance. Locally installed extensions that need to be installed in the container (like the Azure Account extension below) will appear grayed out.

Let's install the GitLens extension by typing 'gitlens' in the Extensions view and then selecting Install in Attached Container.

This will prompt you to restart VS Code, and upon doing so, you will briefly see the Installing Dev Container notification as the container and VS Code server are restarted with our newly installed extension.
You'll also notice that the container configuration file we saw earlier has opened again and updated with a new property listing the extensions we want installed each time we attach to this image.
{
  "workspace": "/usr/src/app",
  "extensions": ["eamodio.gitlens"]
}
Now open any file, select a line of code, and notice you have inline Git information provided by GitLens!

Clean up
When you're done, you can either run the Close Remote Connection command from the Command Palette or simply close the VS Code window to terminate the remote connection.
Now from the terminal/command prompt, run docker-compose down to stop the running container. This will free up memory and release any used ports.
docker-compose down
Now you're ready to spin up another container and work on another project!
Next steps
In this blog post, we covered how you can use the Dev Containers extension to attach to your existing containerized applications.
You can also create a devcontainer.json, which describes the development environment you want to create or attach to and lives with your project to share with your team members.
Other useful resources include the full Developing inside a Container documentation, Advanced container configuration, and our Introductory tutorial on building isolated development environments with the Dev Containers extension.
Happy Remote Coding,
Bowden Kelly, VS Code Program Manager @bowdenk7