WSL 2 with Visual Studio Code
September 3, 2019 by Matt Hernandez, @fiveisprime
It's been a couple of months since the initial betas for the Windows Subsystem for Linux 2 (WSL 2) were launched and I wanted to share a bit about what this is all about and how this will help you be more productive. I've been using the beta since it landed in Windows Insiders and I quickly switched over to using WSL 2 exclusively in my daily development tasks.
What's changing in WSL 2
The first version implemented system calls natively on Windows. System calls are essentially functions provided by the kernel, which means that only the calls that were implemented were supported in the WSL environment. You may have noticed this if you used early versions of WSL and found libraries and tools that were attempting to access system calls that hadn't been implemented (for example, the Go debugger). While incremental improvements were made to add support for more functions, WSL 2 takes a completely different approach to this by shipping a lightweight virtual machine with a complete Linux kernel.
That's right, WSL 2 now ships a VM, but it's not the experience you might expect from a VM. Where traditional VMs may be slow to start and feel isolated, WSL 2 is just as seamless as the previous version. Expect high levels of integration between Windows and Linux, extremely fast boot times, a small resource footprint, and absolutely no VM configuration or management.
All of this translates to increased IO performance – up to 20x faster compared to WSL 1 - and full system call capability. Your modules will install quicker, your repositories will clone quicker, and your favorite libraries will work reliably. The increase in performance means you can also run alternate shells such as Zsh and even use your favorite Node.js version management utility.
WSL 2 and Visual Studio Code
If you're following along, make sure you've opted into Windows Insiders builds and enabled WSL 2. You can learn more about how to get started in the Installation instructions for WSL 2.
You'll also need to install Visual Studio Code and the WSL extension. Optionally, check out the beta Windows Terminal for the best possible terminal experience on Windows.

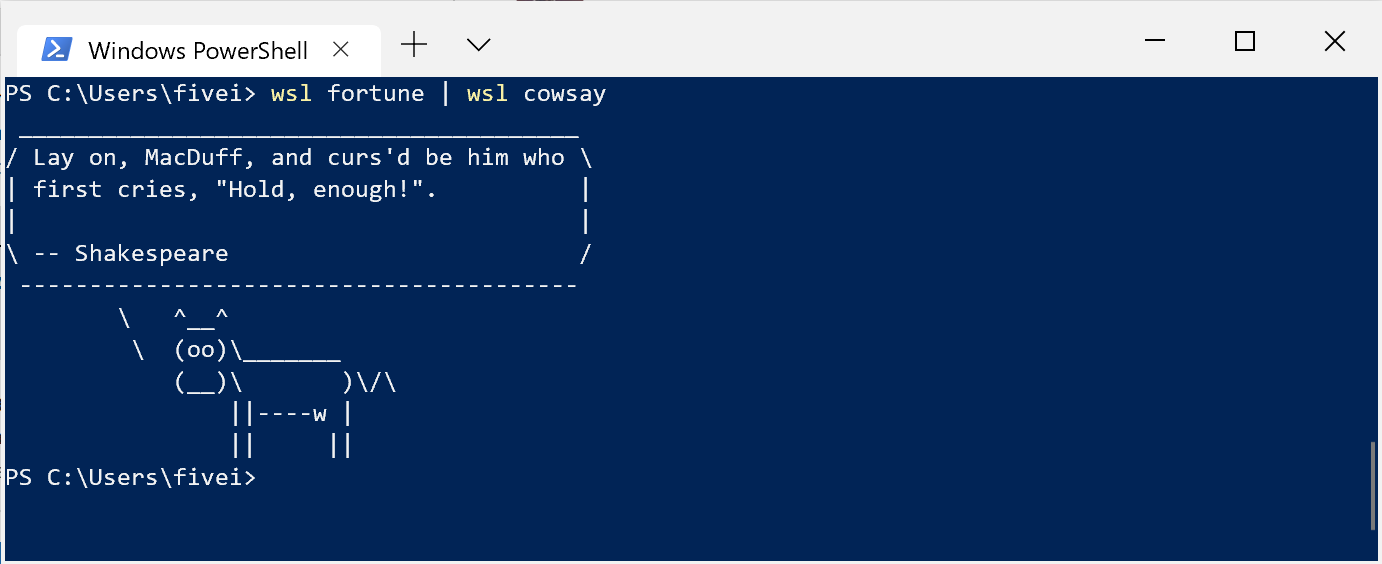
Open WSL either by launching the Windows Terminal and creating a new WSL tab or by launching the Linux distro that you installed. You can also switch into Linux directly from the Command Prompt or PowerShell by entering wsl in the terminal - that's just one of the many ways WSL is so deeply integrated into Windows. You can also use WSL inline to do ridiculous things like…

From your terminal, launch into Visual Studio Code using code . from WSL. You can even use wsl code . to switch to Linux inline, launch into VS Code, then return to your Windows shell. 😏
Personally, I'm using WSL 2 for 100% of my development on Windows – all dev tools such as Git and Node.js are installed in my Linux environment. Check out this Tips and Tricks post for more on customizing VS Code in WSL to meet your needs.
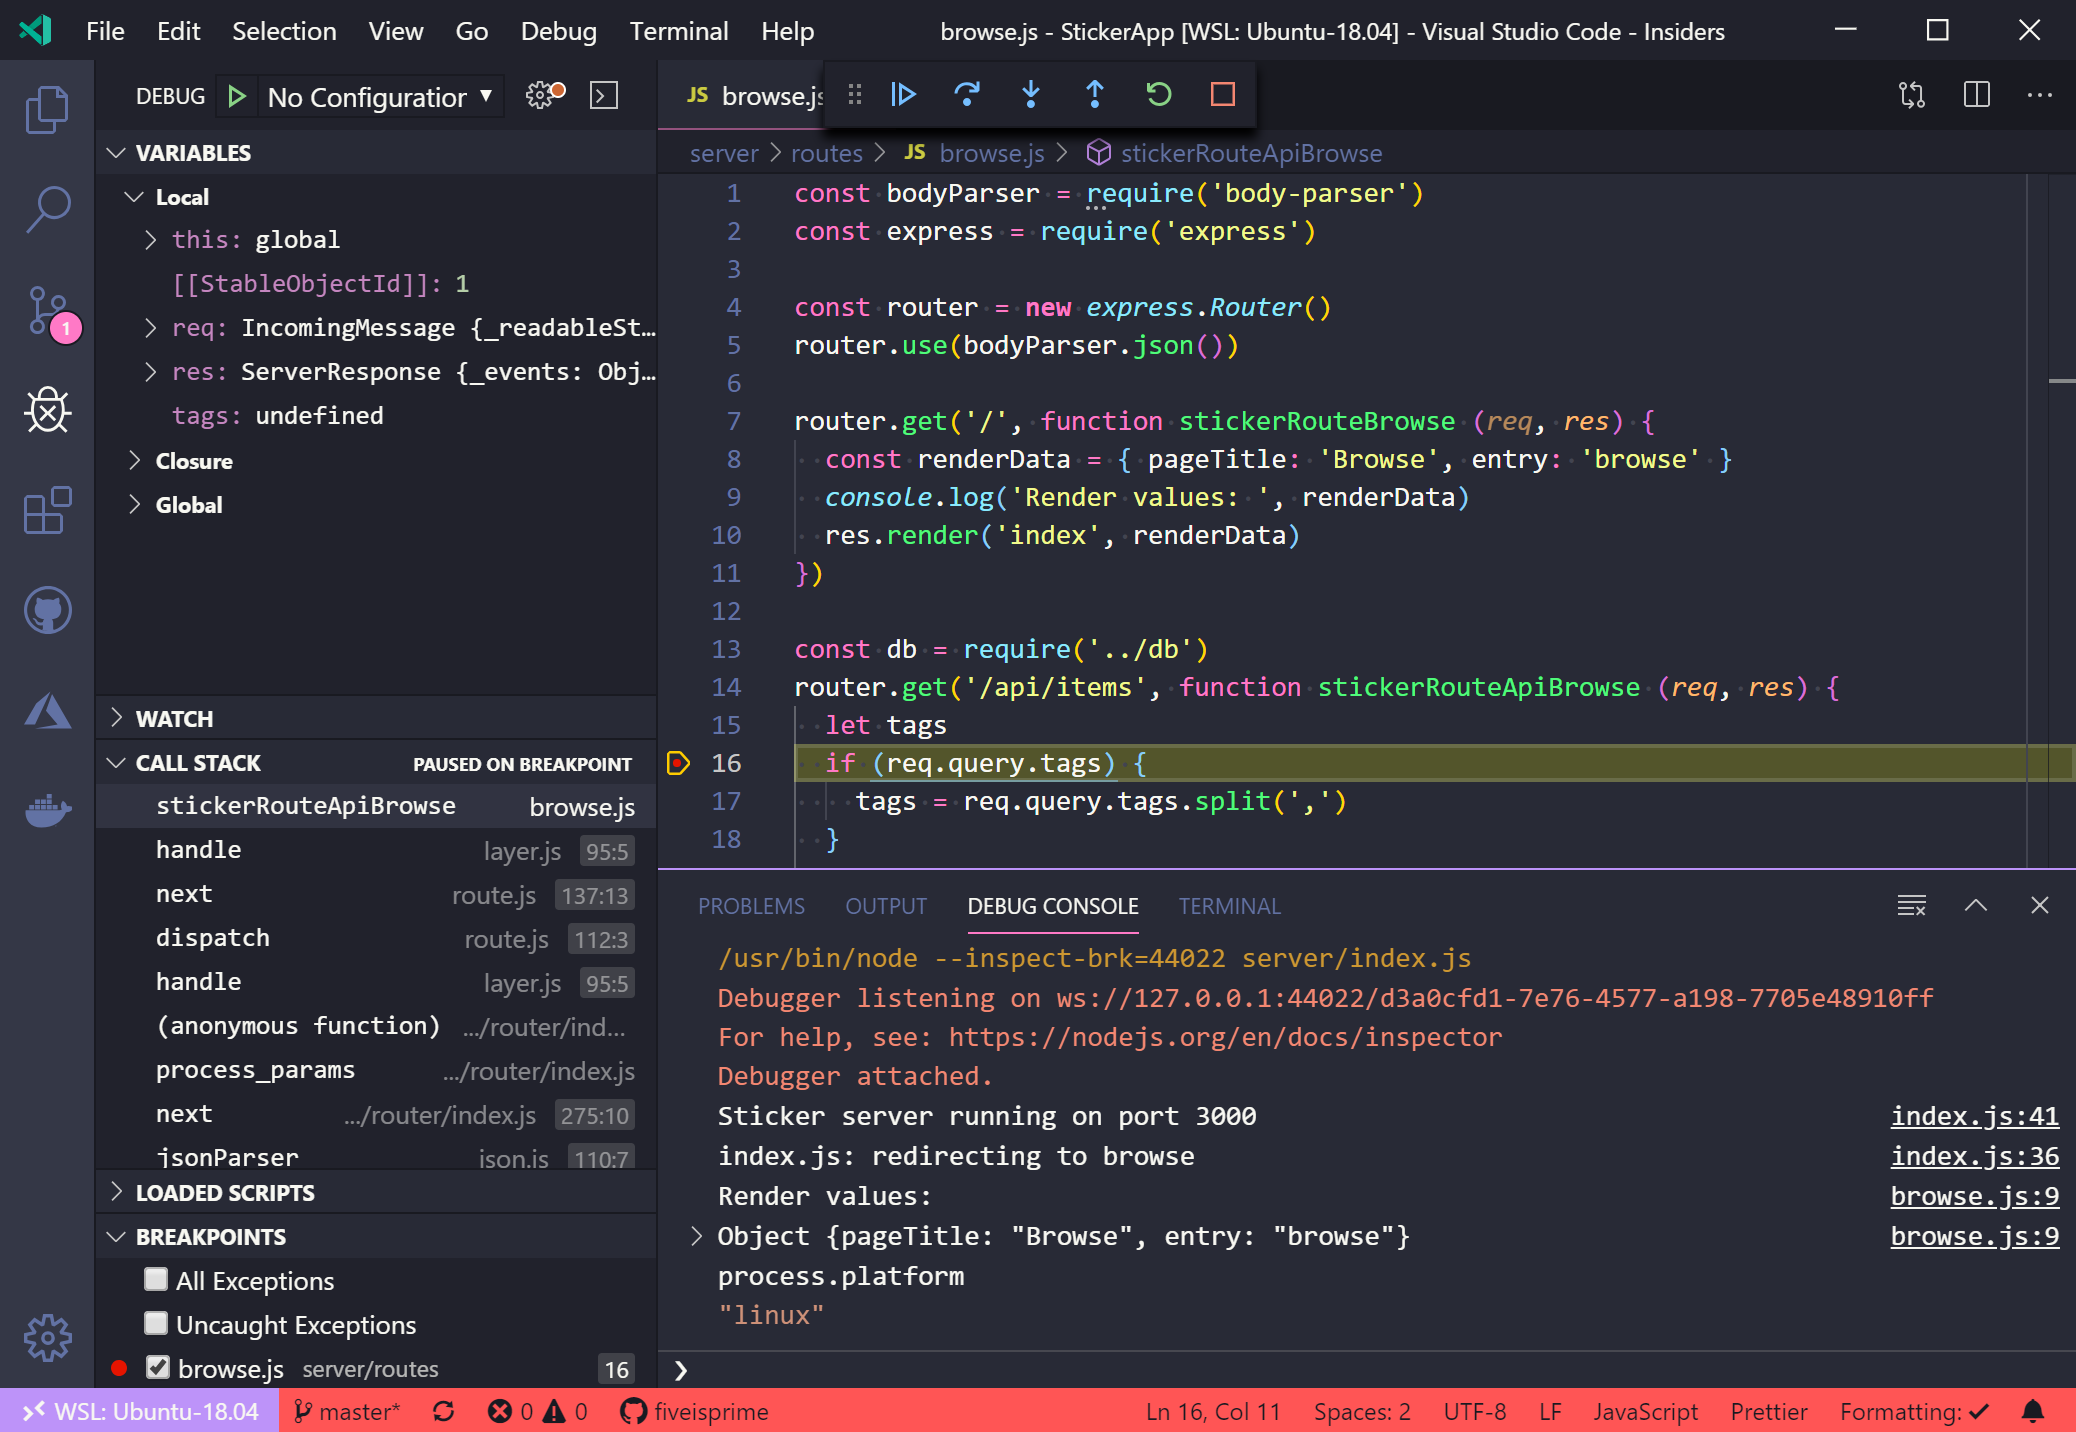
Here's a look at my setup.

Notice in the screenshot that I'm connected to my WSL 2 instance (see 'Ubuntu-18.04' in the bottom-left as the remote source) and I've started a Node.js app from the debugger and it's at a breakpoint. In the Debug console, I've entered process.platform to show how the WSL extension defaults all editor interaction to the Linux environment. There is absolutely no configuration required to get this working, just connect to your WSL environment from the WSL extension and get to work. Also notice that my line endings are defaulted to LF (shown in the Status bar) without having to set any additional Git configuration options - if you're on Windows working in open source, you understand why this is a big deal.
All my favorite extensions work and are targeting the correct environment. For example, the Source Control view is showing changes to my project using the version of Git that's installed in WSL 2 and the Docker extension is configured to access the Docker Desktop WSL 2 technical preview.
All of this is made possible by using the WSL extension. Editing, debugging, and even extensions all work exactly the way you've come to expect in your favorite editor.
Benefits of WSL 2
To recap:
- Virtual machines are resource intensive and create a very disconnected experience.
- The original WSL was very connected, but had fairly poor performance compared to a VM.
- WSL 2 brings a hybrid approach with a lightweight VM, a completely connected experience, and high performance.
Add in the WSL extension in Visual Studio Code and you have the best of all worlds – Linux and Windows compatibility for your tools with excellent performance and a seamless development experience.
Further reading
To help you set up VS Code with WSL, there is a Working in WSL tutorial. If you want to learn more about VS Code Remote and how it can also work over SSH and inside Docker containers, see the full VS Code Remote Development documentation.
Happy Remote Coding,
Matt Hernandez, VS Code Program Manager @fiveisprime